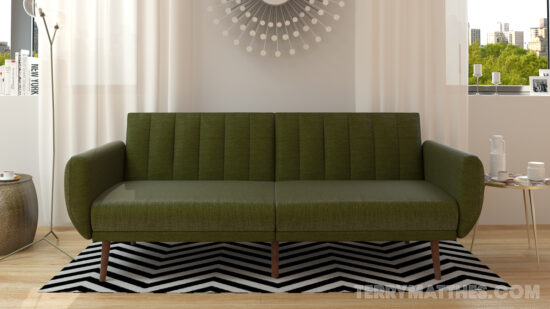
The couch was the focus in this scene for me. It was part of a small contract for Wayfair. Their 3D Generalist broke his arm while on vacation and they needed a CG model made of their Novagratz Brittany Sofa. I was given photos of the couch and asked to model and surface it for their web catalogue. I used Maya to create a stub mesh with proper dimensions then took everything into Zbrush to be sculpted. The rest of the meshes were purchased off of Turbo Squid. I then created the materials for all objects in the scene. The last steps were to light, render and finally composite the scene in Nuke. I rendered the scene using Vray. Almost all of my previous modeling was done by creating a scale stub in Maya and then working it out in ZBrush. 3DSMax is a different beast altogether when it comes to modeling. Thankfully VRay seems to work in a similar fashion from within 3DSMax as it does in Maya. I still don’t quite understand the new ‘Slate Material Editor’. It seems that materials I create from within the Slate editor don’t show up in the Compact editor and vice versa. Most of my shaders don’t require crazy node networks so I’m happy using the simplified editor.
 (http://www NULL.terrymatthes NULL.com/wp-content/uploads/2018/01/LoftInterior_Web2 NULL.jpg)
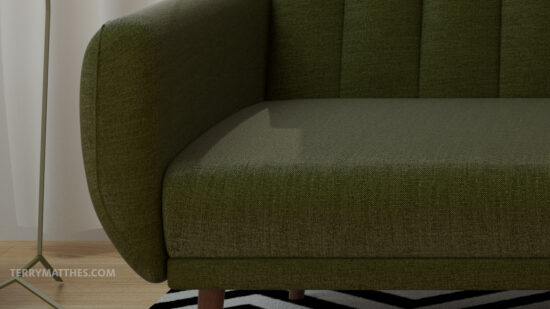
A lot of the time developing this scene was spent on the couch’s material. I wanted to make sure the linen came through really strong and crisp. Rendering the couch without losing the detail in the bump was my main concern. I ran with a 4K diffuse map and a 4K bump map to create most of the detail in the material. A spec map was also used to control how the highlight spread over the couch’s surface. The raw render is 4000×2666. Below is detailed snipped of the full resolution render.
 (http://www NULL.terrymatthes NULL.com/wp-content/uploads/2017/07/detail NULL.jpg)
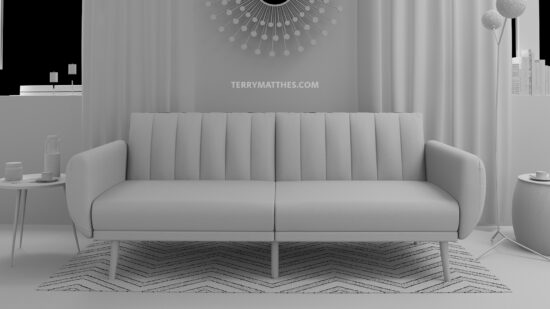
Most of the folds and creases in the couch were created in ZBrush. I didn’t want to add too much wear and tear to the couch as it was designed for use in a product shot. Usually I would render out a default material pass to show the shapes in the scene, but this Global Illumination pass does a fine job. (http://www NULL.terrymatthes NULL.com/wp-content/uploads/2017/07/couch1920GI NULL.jpg)
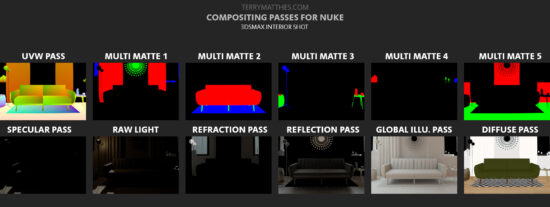
I haven’t had a chance to use the UVW pass on this shot, but I would like to play around with it in the future. The idea of being able to assign a new texture to the couch in post sounds really cool. I think it could have some really useful implications for product rendering. I’ve been thinking more and more about exteriors lately and I think I might try to model an outside scene in the near future. For now I’ll leave you with render passes created in 3DSMax for Nuke below.
 (http://www NULL.terrymatthes NULL.com/wp-content/uploads/2017/07/NukeCouchPasses NULL.jpg)
Comments (0)