« Posts tagged black body

Breakfast Still Life – Final

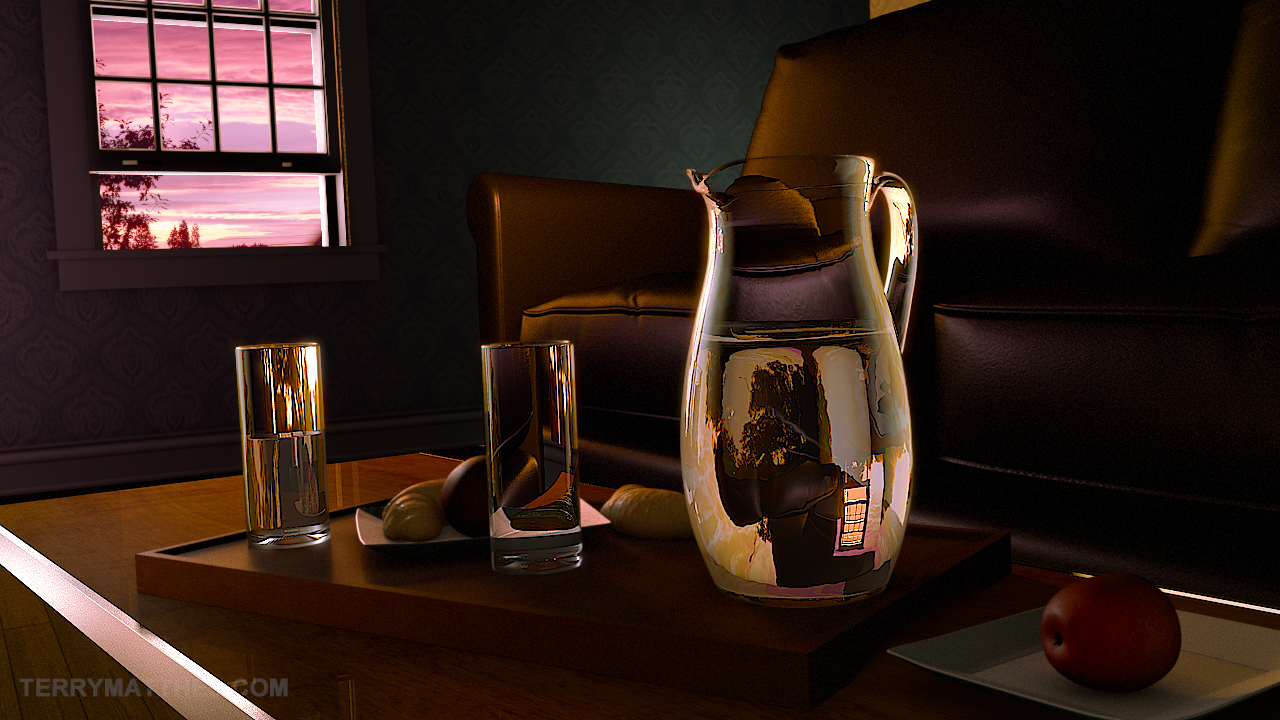
Final Post Edited Render

I finished the still life from my last post and then went ahead and did some post work in Fusion. All the major elements in the scene were rendered out on separate render layers in Maya. At first render layers seemed like a lot of work, but after setting them up the benefits are awesome. As always if you have any questions about the work flow feel free to leave a comment or email me. For those hoping to see pastries in the foreground… I’m sorry. I didn’t have enough time to give those croissants the care they needed. GG pastries in Mental Ray. GG.Below are my rough draft and raw render along with the final image. Next time I do a light setup I’m going to try and use the light fog in Maya instead of relying on Fusion. This is the first time I’ve ever used film grain in post and I think it may be a little heavy handed, but in my defense shooting in that low light would give you some strong grain.
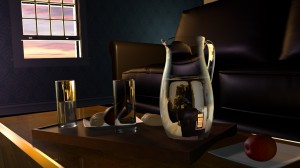
Glass Render from Mental Ray (http://www NULL.terrymatthes NULL.com/wp-content/uploads/2011/10/PrePostStillGlass NULL.jpg)

Glass render untouched from Mental Ray

Early Test Render (http://www NULL.terrymatthes NULL.com/wp-content/uploads/2011/10/glassesRough NULL.jpg)

Rough Render for 3D Still

Final Post Edited Render (http://www NULL.terrymatthes NULL.com/wp-content/uploads/2011/10/TerryMatthe_GlassFinal NULL.jpg)

Mental Ray Linear Workflow Tests

So, I’ve decided to take a better look at using a proper linear workflow within Mental Ray and part of that seems to be learning Global Illumination and Final Gather. These lightning systems have always seemed scary and complicated to me, but after some great tutorials at Lester Banks.com (http://www NULL.lesterbanks NULL.com)and Stuart Christensen (http://www NULL.youtube NULL.com/user/deepfriedectoplasm)‘s YouTube channel I am starting to see the light :) I would also like to thank Brandon from Backwards8.com (http://www NULL.backwards8 NULL.com)for sitting down with me the other day to explain some of the different GI and FG settings.

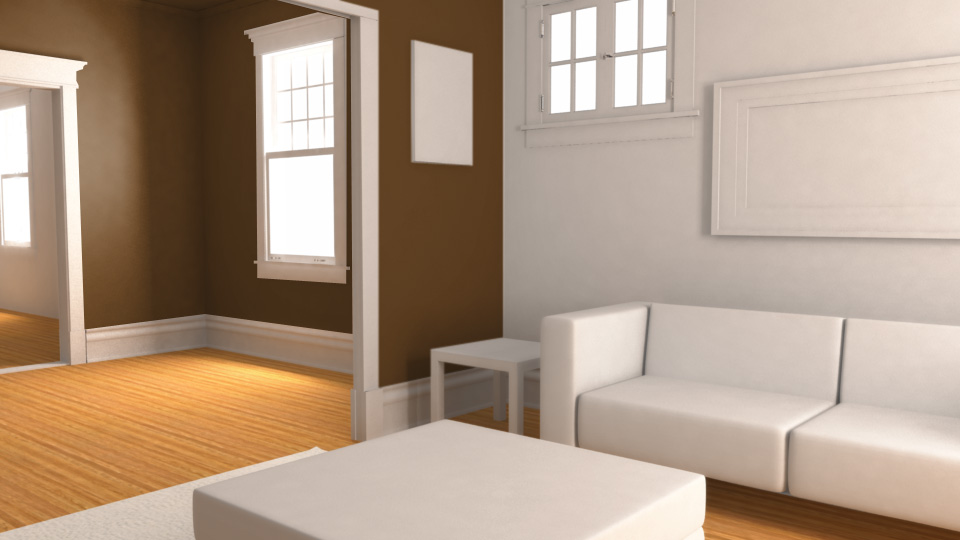
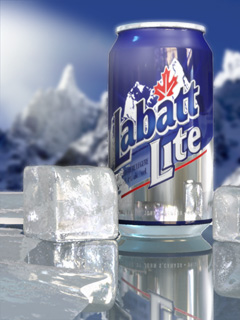
Labatt Beer with ice (http://www NULL.terrymatthes NULL.com/wp-content/uploads/2011/04/beer_ice NULL.jpg)I dug up a scene I had modeled a few months back of my old apartment. This is lighting s a test to see how I would like to take the render further. The render itself is black and white and the few textures and colours in it were added in Photoshop. I should mention that I’m not using the mia_roundCorner node. There are 5 area lights in the scene being controled by a mia_portal_light. Right now the large windows are emitting 1,000,000 photons per light and the smaller windows are emitting 500,000. The portal lights are all connected to the same mib_blackbody node which is outputting a colour temperature of 5500K. This is in an effort to simulate mid-day sun. The render camera is set up so that the film back is the same ratio as the resolution gate (960×540 px) and I added the lens shader mia_exposure_photographic to even out the gamma. I am still getting a bit of blotchyness around the corners, but part of that is due to the area light samples being set at 16. Overall I am really happy with this as a test and I will keep posting updates as my work progresses. I’ve also done a small linear light test with a beer can model and I will post that shot when I get off of work. If you have any questions about settings or the process as a whole post a comment below or shoot me an email (terry null@null terrymatthes NULL.com).
.
Global illumination and final gather rough render. (http://www NULL.terrymatthes NULL.com/wp-content/uploads/2011/04/apt_test NULL.jpg)
.