« Posts tagged linear

[R&D] V-Ray WIP

V-Ray Lamp Scene Work In Progress

Yeah that’s right… I’ve decided to finally check out VRay and I have to say that so far it’s been a lot of fun to work with. I haven’t gone through all the settings yet, but I’m trying to get through working on a piece while learning the suite. I’ve decided to render a bedside lamp and glass full of flowers. Most of the work so far has gone into the lamp shade and getting everything proportioned. One thing I will say is that linear workflow (gamma corrected workflow) is a lot easier in  VRay. Gone are the days of needing a gamma adjustment node on every single file texture you import.
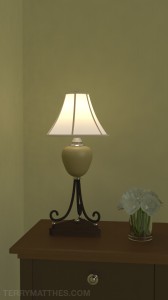
V-Ray Lamp Scene Work In Progress (http://www NULL.terrymatthes NULL.com/wp-content/uploads/2012/10/lampTest3 NULL.jpg)While rendering I noticed that meshes through Maya’s smoothed approximation method (2 or 3 on your keyboard) weren’t showing up smoothed in the actual render. I fixed this by checking the radio box “Render viewport subdivision”  in the VRay global options. You should know that when you check this your render times might spike up. This is because by default VRay subdivides they smoothed preview many more times than you would actually need. You can fix this by going back into the “Render Globals” of VRay’s options and changing the displacement/subdivision group option max subdivision from 256 to down to something around 8. To light this scene I have a “rectangle light” for fill and a “spherical light” placed in the lamp shade. When I’ve progressed some more I’ll post more about the lamp shade material as well as the actual light values. Until then, cheers and good luck with all your renders :)
 

Breakfast Still Life – Rough

Rough Render for 3D Still Life involving glass

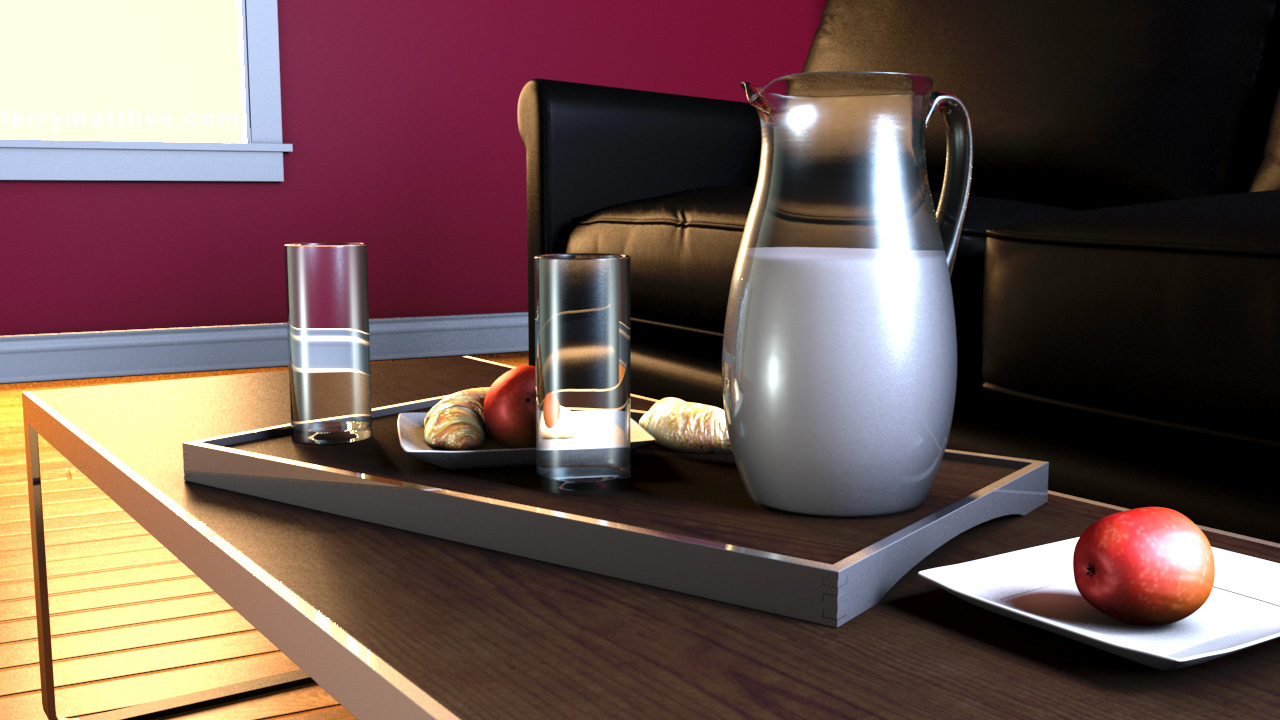
This image was created for my rendering class in college. We were given the objects and asked to properly light and render them. The style of render was left up to us. The challenge with this assignment is to get the glass looking right. Most of the objects needed to be unwrapped so that’s the first thing I did. Unlike my last apartment render (http://www NULL.terrymatthes NULL.com/general/news/apartment-final-render-thoughts/) this piece can contain no global illumination or final gather. Any bounced light is simulated with secondary light sources. I had to remodel the glasses as their were lots of strange triangles buggering up the reflections. The pitcher and the glasses have separate faces for the inside and outside of the object. Under the glass mesh render properties the objects are set to one sided.

One thing to keep in mind while rendering glass in Maya and Mental Ray is black surfaces. If you are rendering a translucent or semi translucent object and you are getting black artifacts or faces on your render then you need to increase your reflection rays in the object’s material properties. Reflections and refractions take a long time to render due to the amount of ray casting going on. Too many rays and you can drastically increase your render time. Too few and you’ll get black faces where the rays didn’t penetrate the objec. Reflections are a little tougher as you actually have to know what should be reflected. If you can’t see them at all it’s a littler tougher to guess which ones are missing. If you’re casting enough rays within each material and you’re still getting black faces then chances are you have not set your ray tracing limits high enough in the scene’s render settings. In case you didn’t know there is a master ray trace control found under the “Quality” tab in the render settings window.

The colours of the piece are still pretty loose. I was playing around with Adobe Kuler (http://kuler NULL.adobe NULL.com/) and though it was a pretty fun tool to choose a colour pallet. My biggest problem at this point is the strength of the lighting in relation to the floor reflections. I’d like to keep the light warmer (3500k), but I’d also like to get some less harsh reflections in the floor. Most of what’s left to do involved tweaking materials and finalizing a colour pallet. I might take a swing at Maya fur again, but we’ll see if time allows it. I’ve been working part time in while going to school and it’s really been cutting into the amount of time I have to get homework (let alone personal projects) done. I would cut my hours down, but at my work the minimum for part time is 20. I did find a wonderful way to save time though… I set my computer up so I can login remotely. This makes it a lot easier to setup and look at renders. I suppose I could just batch render multiple files with a script, but I wouldn’t be able to change anything after I leave home. I don’t know about you guys, but I frequently get hit by ideas while out and about and this lets me incorporate those changes into the renders.

Rough Render for 3D Still Life involving glass (http://www NULL.terrymatthes NULL.com/wp-content/uploads/2011/10/glassesRough NULL.jpg)

Fruit Bowl Render

black and white fruit bowl

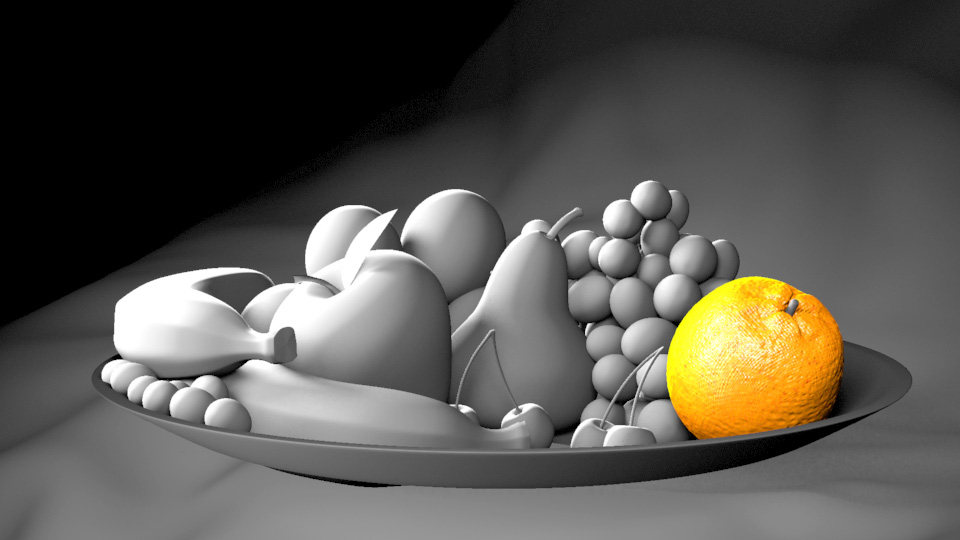
In our lighting and rendering class we are going through the basics of mental ray lighting with linear work flow. I’ve done a bit of this on my own as you might know if you keep up with this blog. I’m learning a lot about the different tools you have in Mental Ray to control shadows and blurry reflections. Our first assignment is to light and render a fruit bowl that as supplied to us. I’ve just started this assignment and I only have the orange texture started, but I have finished lighting the scene. We aren’t allowed to use any indirect lighting systems like Final Gather or Global Illumination. Any bounced light has to be simulated. I’m going to add coloured point lights to simulate bounced light after I have my textures setup.

Most of these lights are casting ray traced shadows with a light radius of 5, 40 shadow rays, and 2 bounces per ray. There is a bit of light linking going on so I can illuminate the bowl and drop cloth separately. For this coming Monday we have to have at least one of the fruits textures started. I have chosen to start with the orange. I generally like the texture, but I have to make a new bump map that puts all those little circular bumps across the surface. The current bump isn’t dense or varied enough.

(http://www NULL.terrymatthes NULL.com/wp-content/uploads/2011/09/lightrough1 NULL.jpg)
As always, if you have any questions about the settings or any of the file setup just post em here or email me.

Mental Ray Linear Workflow Tests

So, I’ve decided to take a better look at using a proper linear workflow within Mental Ray and part of that seems to be learning Global Illumination and Final Gather. These lightning systems have always seemed scary and complicated to me, but after some great tutorials at Lester Banks.com (http://www NULL.lesterbanks NULL.com)and Stuart Christensen (http://www NULL.youtube NULL.com/user/deepfriedectoplasm)‘s YouTube channel I am starting to see the light :) I would also like to thank Brandon from Backwards8.com (http://www NULL.backwards8 NULL.com)for sitting down with me the other day to explain some of the different GI and FG settings.

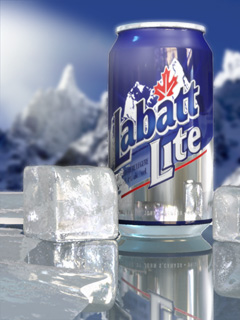
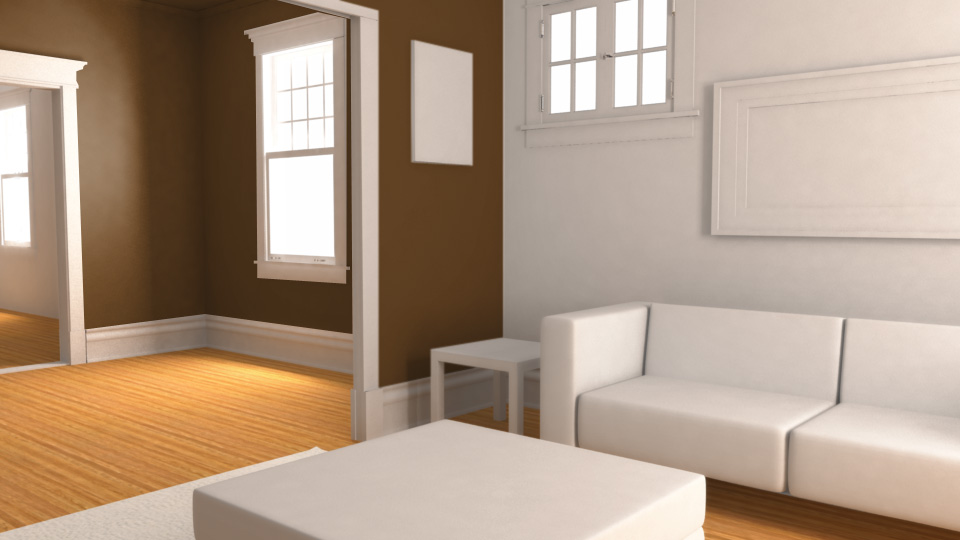
Labatt Beer with ice (http://www NULL.terrymatthes NULL.com/wp-content/uploads/2011/04/beer_ice NULL.jpg)I dug up a scene I had modeled a few months back of my old apartment. This is lighting s a test to see how I would like to take the render further. The render itself is black and white and the few textures and colours in it were added in Photoshop. I should mention that I’m not using the mia_roundCorner node. There are 5 area lights in the scene being controled by a mia_portal_light. Right now the large windows are emitting 1,000,000 photons per light and the smaller windows are emitting 500,000. The portal lights are all connected to the same mib_blackbody node which is outputting a colour temperature of 5500K. This is in an effort to simulate mid-day sun. The render camera is set up so that the film back is the same ratio as the resolution gate (960×540 px) and I added the lens shader mia_exposure_photographic to even out the gamma. I am still getting a bit of blotchyness around the corners, but part of that is due to the area light samples being set at 16. Overall I am really happy with this as a test and I will keep posting updates as my work progresses. I’ve also done a small linear light test with a beer can model and I will post that shot when I get off of work. If you have any questions about settings or the process as a whole post a comment below or shoot me an email (terry null@null terrymatthes NULL.com).
.
Global illumination and final gather rough render. (http://www NULL.terrymatthes NULL.com/wp-content/uploads/2011/04/apt_test NULL.jpg)
.