« Posts tagged mental ray

Maya Fur Tips

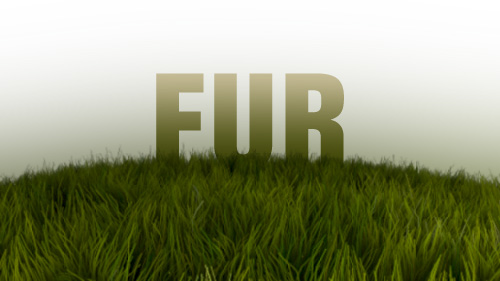
Fur as grass

Fur as grass (http://www NULL.terrymatthes NULL.com/wp-content/uploads/2013/04/furpic NULL.jpg)
Hey dudes, and dudettes. Here’s a few tips on dealing with Maya fur as it can be a little hairy… get it?! Seriously though, Maya fur can be confusing and a little tricky to work with, so if you don’t have cash to blow on some fancy plugin here are a few tips to help you guys out.

A) Triangulate your fur surface! Fur seems to like triangles. If you notice you’re getting odd bald spots this can be the reason.

B) UVs are KING. Maya fur is heavily dependent on the face distribution of your model’s UVs. Tiny faces on your UV sheet are going to have really really low fur density. More often than not you have to create a second set of UVs for fur to operate on. This is OK though as the fur menu lets you choose which UV set to base your fur on. To access this menu go to Windows > Relationship Editors > UV Linking > Fur/UV. Make sure you are giving an even face distribution on your new UV set.

C) You will NOT see textured colour in your fur even after hooking up the proper tip and base colour maps until you hit the “Bake” button at the top of the fur description. Anytime you add a new maps in you’re going to want to bake as well.

D) Fur colour is very sensitive. The maps plugged into your fur descriptions colour slots should be crushed down quite low. For the fur above my “Color Gain” values in the file node’s “Color Balance” roll out were set as follows: Base Color=0.130 Tip Color=0.310 Base Ambient Color and Tip Ambient Color =0.230

E) If you fur shadows aren’t showing up you will have to increase you “shadow density” in the fur description under the Mental Ray roll out.

F) Work in a linear fashion aka Linear Workflow (http://vimeo NULL.com/8119194).

That’s all for now. May the fur be with you!

Late Night With Mental Ray

(http://www NULL.terrymatthes NULL.com/wp-content/uploads/2012/09/TMNIGHT2 NULL.jpg)I have wanted to try a late night render for some time and I got an excuse to do so recently. A lot of the time went into getting the final gather and global illumination to behave correctly.  There are two area lights outside the windows lighting the scene along with the two point lights; one in each lamp. The lamp’s point lights have their colour temperature controlled by a mib blackbody node set to around. The floor panel is a flat plane using a 2D bump (no normals) to pop out the individual floor planks. Underneath it, a wood texture to support this.

The ottoman in the middle of the room is procedurally textured using the 2D Texture Cloth node to create a fine bump across the surface as well as to define the diffuse colour of the fabric. Some unevenness is applied to the 2D Placement Node of the ottoman’s material to simulate uneven stretching of the fabric. This effect is applied subtly though. A stronger effect is the light shining through the surface of the lamp shade. This was achieved through using Maya’s default translucent property on a simple lambert shader. A yellowish colour was then picked for the diffuse and I turned down the diffuse value of the material to around “0.4”. The area light to the right of the scene is colored with a dim blue light to simulate the way your eyes desaturate colours in low light conditions. A blue tint was also added afterwards to the whole image in Photoshop. To achieve the final gather I wanted I used three point lights that didn’t cast diffuse or specular light. These point lights simply cast photons (around 300k each) to paint the rooms with final gather points. One point light was placed in the middle of each room. Before rendering I made sure to save out both my final gather and global illuminations passes. The cat on the couch was done using Maya’s native fur system. If I were to change anything I think I would paint a custom fur length map for the cat so the hair wasn’t the same length all over.

In Photoshop I applied an ambient occlusion render over the entire image, set it’s opacity to around 30% and changed  it’s layer’s draw type to multiply. I rendered this image out and an EXR and it gave me the ability to really pull the values of the scene in a wide range due to the raw nature of an EXR. To select the individual objects in the scene I rendered out a mask pass to make selecting the individual elements of the scene much easier. The mask pass was made as a separate render layer. I made 5 different Maya surface shaders and labeled them: red, green, blue, black, and white. I then applied these shaders to everything in the scene and made sure that no to objects with the same colour overlapped.

If anyone has any questions feel free to comment below or to contact me about the questions. Have a nice day :)

Breakfast Still Life – Final

Final Post Edited Render

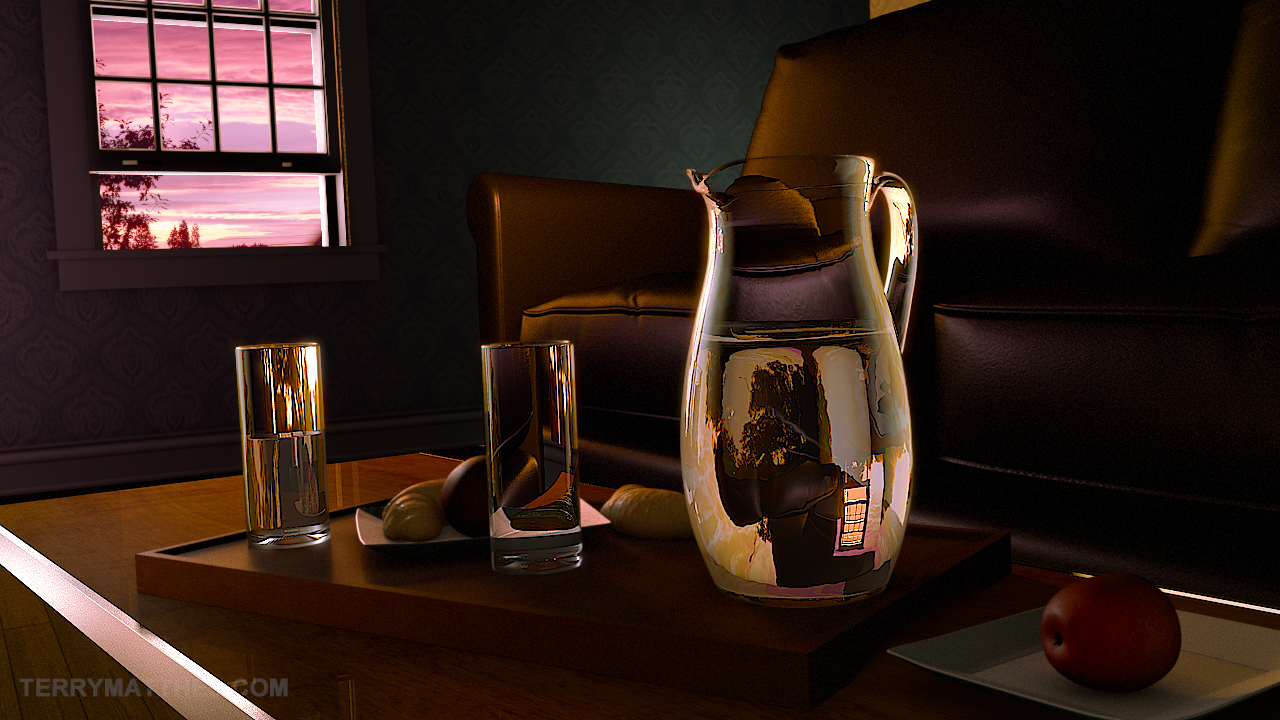
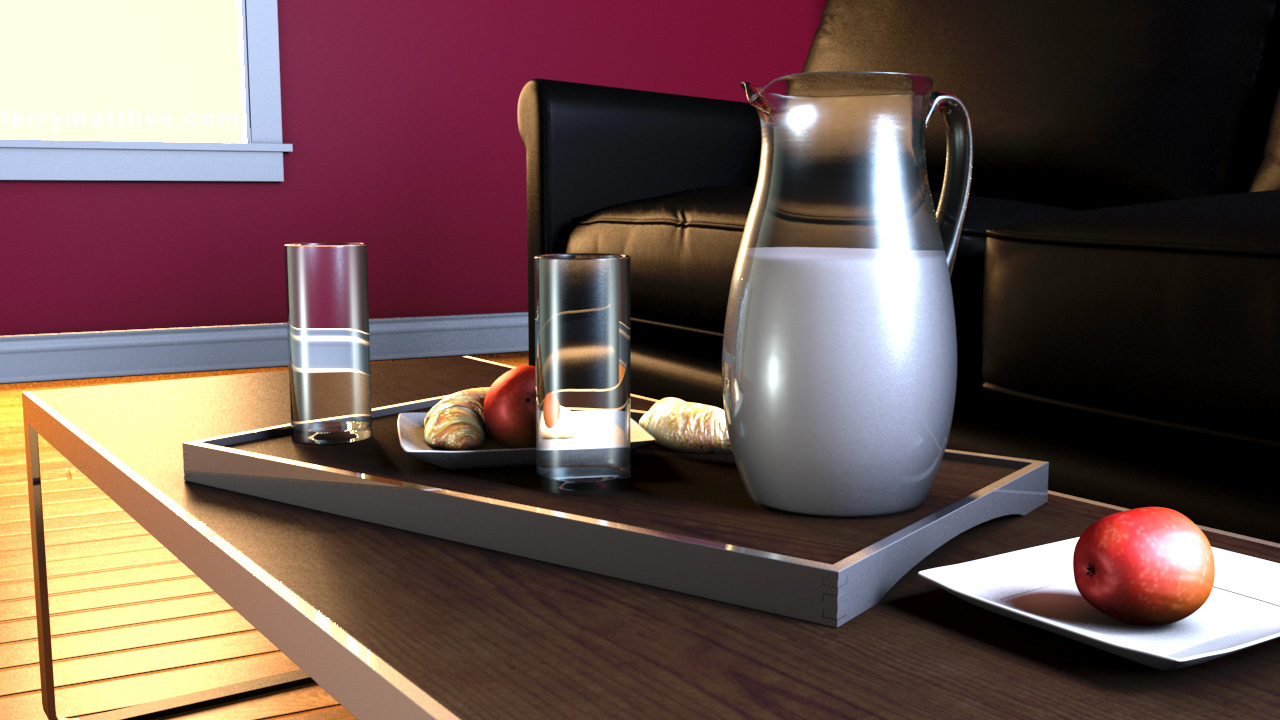
I finished the still life from my last post and then went ahead and did some post work in Fusion. All the major elements in the scene were rendered out on separate render layers in Maya. At first render layers seemed like a lot of work, but after setting them up the benefits are awesome. As always if you have any questions about the work flow feel free to leave a comment or email me. For those hoping to see pastries in the foreground… I’m sorry. I didn’t have enough time to give those croissants the care they needed. GG pastries in Mental Ray. GG.Below are my rough draft and raw render along with the final image. Next time I do a light setup I’m going to try and use the light fog in Maya instead of relying on Fusion. This is the first time I’ve ever used film grain in post and I think it may be a little heavy handed, but in my defense shooting in that low light would give you some strong grain.

Glass Render from Mental Ray (http://www NULL.terrymatthes NULL.com/wp-content/uploads/2011/10/PrePostStillGlass NULL.jpg)

Glass render untouched from Mental Ray

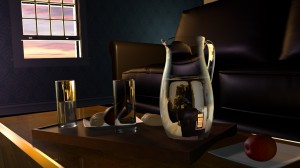
Early Test Render (http://www NULL.terrymatthes NULL.com/wp-content/uploads/2011/10/glassesRough NULL.jpg)

Rough Render for 3D Still

Final Post Edited Render (http://www NULL.terrymatthes NULL.com/wp-content/uploads/2011/10/TerryMatthe_GlassFinal NULL.jpg)

Breakfast Still Life – Rough

Rough Render for 3D Still Life involving glass

This image was created for my rendering class in college. We were given the objects and asked to properly light and render them. The style of render was left up to us. The challenge with this assignment is to get the glass looking right. Most of the objects needed to be unwrapped so that’s the first thing I did. Unlike my last apartment render (http://www NULL.terrymatthes NULL.com/general/news/apartment-final-render-thoughts/) this piece can contain no global illumination or final gather. Any bounced light is simulated with secondary light sources. I had to remodel the glasses as their were lots of strange triangles buggering up the reflections. The pitcher and the glasses have separate faces for the inside and outside of the object. Under the glass mesh render properties the objects are set to one sided.

One thing to keep in mind while rendering glass in Maya and Mental Ray is black surfaces. If you are rendering a translucent or semi translucent object and you are getting black artifacts or faces on your render then you need to increase your reflection rays in the object’s material properties. Reflections and refractions take a long time to render due to the amount of ray casting going on. Too many rays and you can drastically increase your render time. Too few and you’ll get black faces where the rays didn’t penetrate the objec. Reflections are a little tougher as you actually have to know what should be reflected. If you can’t see them at all it’s a littler tougher to guess which ones are missing. If you’re casting enough rays within each material and you’re still getting black faces then chances are you have not set your ray tracing limits high enough in the scene’s render settings. In case you didn’t know there is a master ray trace control found under the “Quality” tab in the render settings window.

The colours of the piece are still pretty loose. I was playing around with Adobe Kuler (http://kuler NULL.adobe NULL.com/) and though it was a pretty fun tool to choose a colour pallet. My biggest problem at this point is the strength of the lighting in relation to the floor reflections. I’d like to keep the light warmer (3500k), but I’d also like to get some less harsh reflections in the floor. Most of what’s left to do involved tweaking materials and finalizing a colour pallet. I might take a swing at Maya fur again, but we’ll see if time allows it. I’ve been working part time in while going to school and it’s really been cutting into the amount of time I have to get homework (let alone personal projects) done. I would cut my hours down, but at my work the minimum for part time is 20. I did find a wonderful way to save time though… I set my computer up so I can login remotely. This makes it a lot easier to setup and look at renders. I suppose I could just batch render multiple files with a script, but I wouldn’t be able to change anything after I leave home. I don’t know about you guys, but I frequently get hit by ideas while out and about and this lets me incorporate those changes into the renders.

Rough Render for 3D Still Life involving glass (http://www NULL.terrymatthes NULL.com/wp-content/uploads/2011/10/glassesRough NULL.jpg)

Fruit Bowl Render

black and white fruit bowl

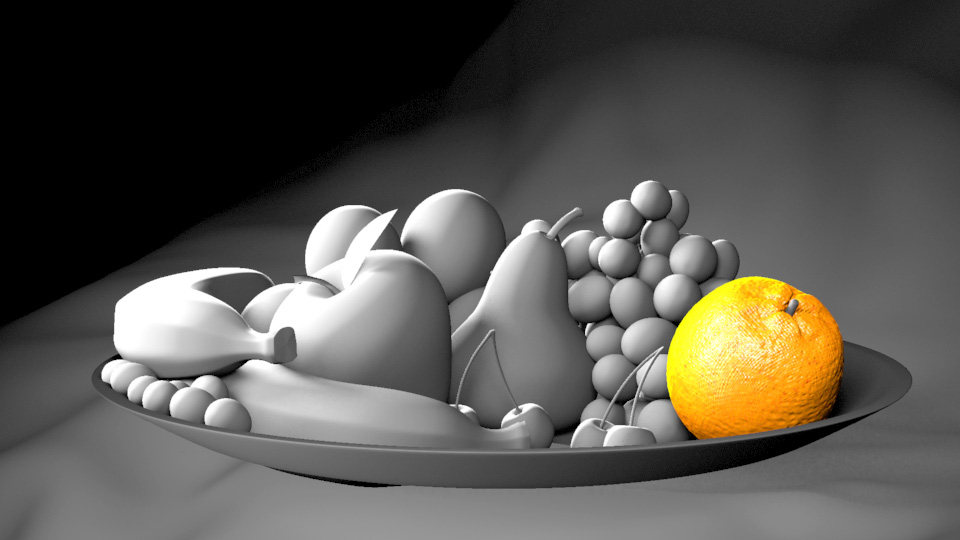
In our lighting and rendering class we are going through the basics of mental ray lighting with linear work flow. I’ve done a bit of this on my own as you might know if you keep up with this blog. I’m learning a lot about the different tools you have in Mental Ray to control shadows and blurry reflections. Our first assignment is to light and render a fruit bowl that as supplied to us. I’ve just started this assignment and I only have the orange texture started, but I have finished lighting the scene. We aren’t allowed to use any indirect lighting systems like Final Gather or Global Illumination. Any bounced light has to be simulated. I’m going to add coloured point lights to simulate bounced light after I have my textures setup.

Most of these lights are casting ray traced shadows with a light radius of 5, 40 shadow rays, and 2 bounces per ray. There is a bit of light linking going on so I can illuminate the bowl and drop cloth separately. For this coming Monday we have to have at least one of the fruits textures started. I have chosen to start with the orange. I generally like the texture, but I have to make a new bump map that puts all those little circular bumps across the surface. The current bump isn’t dense or varied enough.

(http://www NULL.terrymatthes NULL.com/wp-content/uploads/2011/09/lightrough1 NULL.jpg)
As always, if you have any questions about the settings or any of the file setup just post em here or email me.

Mental Ray Linear Workflow Tests

So, I’ve decided to take a better look at using a proper linear workflow within Mental Ray and part of that seems to be learning Global Illumination and Final Gather. These lightning systems have always seemed scary and complicated to me, but after some great tutorials at Lester Banks.com (http://www NULL.lesterbanks NULL.com)and Stuart Christensen (http://www NULL.youtube NULL.com/user/deepfriedectoplasm)‘s YouTube channel I am starting to see the light :) I would also like to thank Brandon from Backwards8.com (http://www NULL.backwards8 NULL.com)for sitting down with me the other day to explain some of the different GI and FG settings.

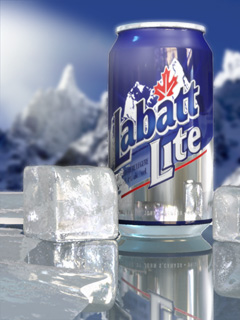
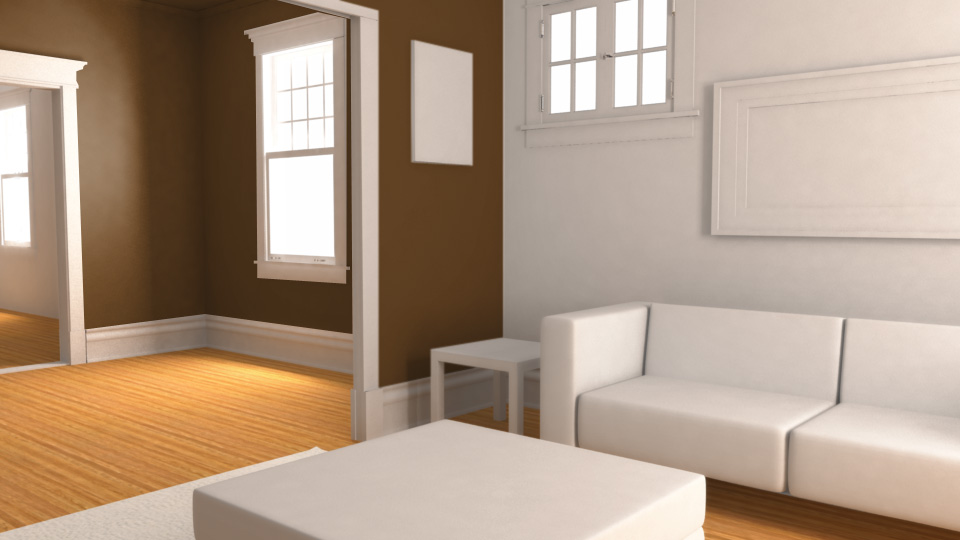
Labatt Beer with ice (http://www NULL.terrymatthes NULL.com/wp-content/uploads/2011/04/beer_ice NULL.jpg)I dug up a scene I had modeled a few months back of my old apartment. This is lighting s a test to see how I would like to take the render further. The render itself is black and white and the few textures and colours in it were added in Photoshop. I should mention that I’m not using the mia_roundCorner node. There are 5 area lights in the scene being controled by a mia_portal_light. Right now the large windows are emitting 1,000,000 photons per light and the smaller windows are emitting 500,000. The portal lights are all connected to the same mib_blackbody node which is outputting a colour temperature of 5500K. This is in an effort to simulate mid-day sun. The render camera is set up so that the film back is the same ratio as the resolution gate (960×540 px) and I added the lens shader mia_exposure_photographic to even out the gamma. I am still getting a bit of blotchyness around the corners, but part of that is due to the area light samples being set at 16. Overall I am really happy with this as a test and I will keep posting updates as my work progresses. I’ve also done a small linear light test with a beer can model and I will post that shot when I get off of work. If you have any questions about settings or the process as a whole post a comment below or shoot me an email (terry null@null terrymatthes NULL.com).
.
Global illumination and final gather rough render. (http://www NULL.terrymatthes NULL.com/wp-content/uploads/2011/04/apt_test NULL.jpg)
.