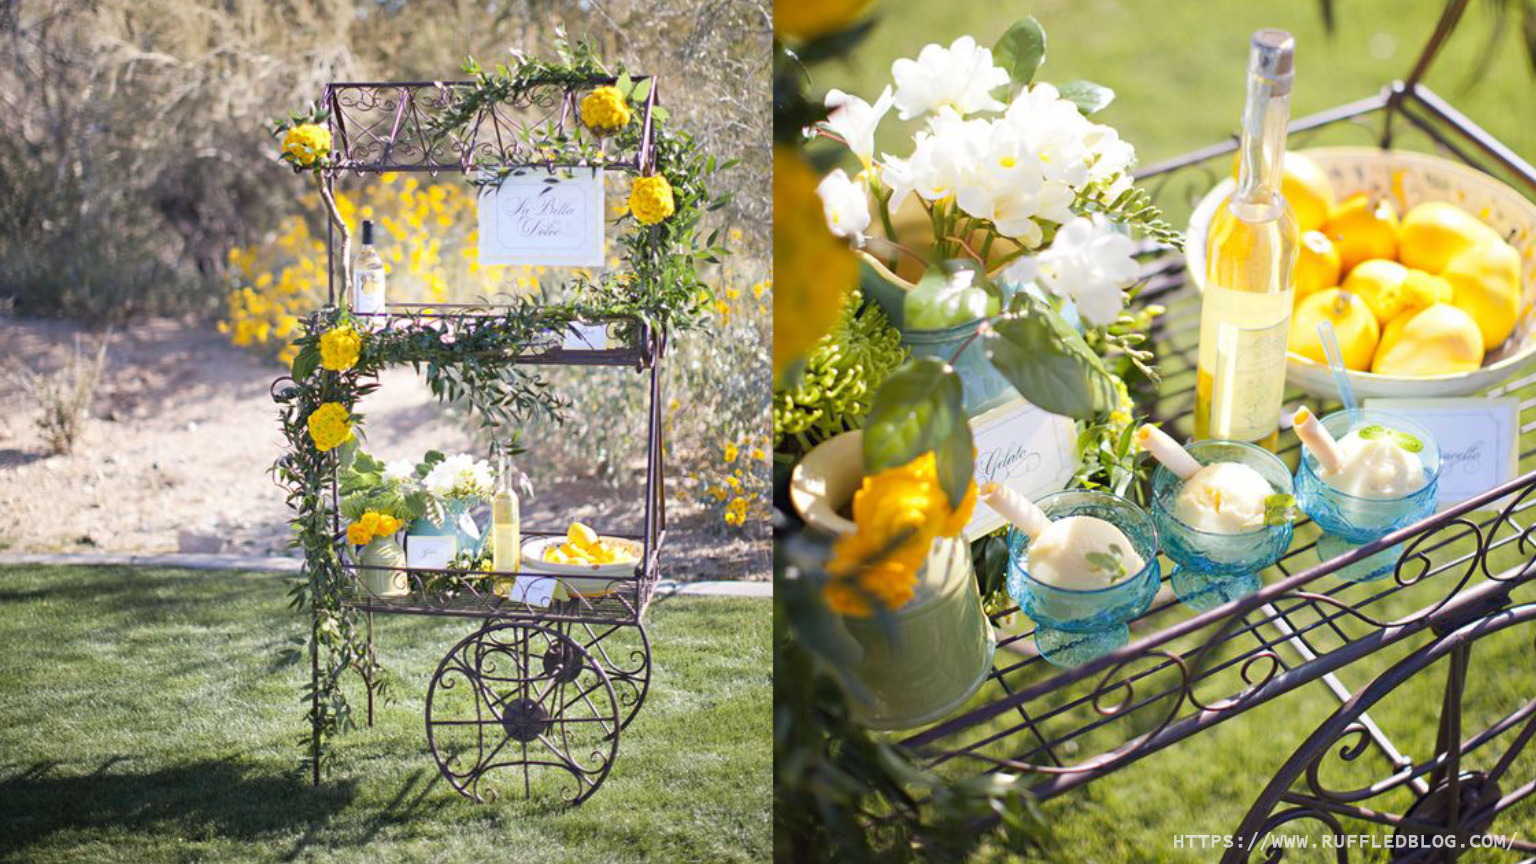
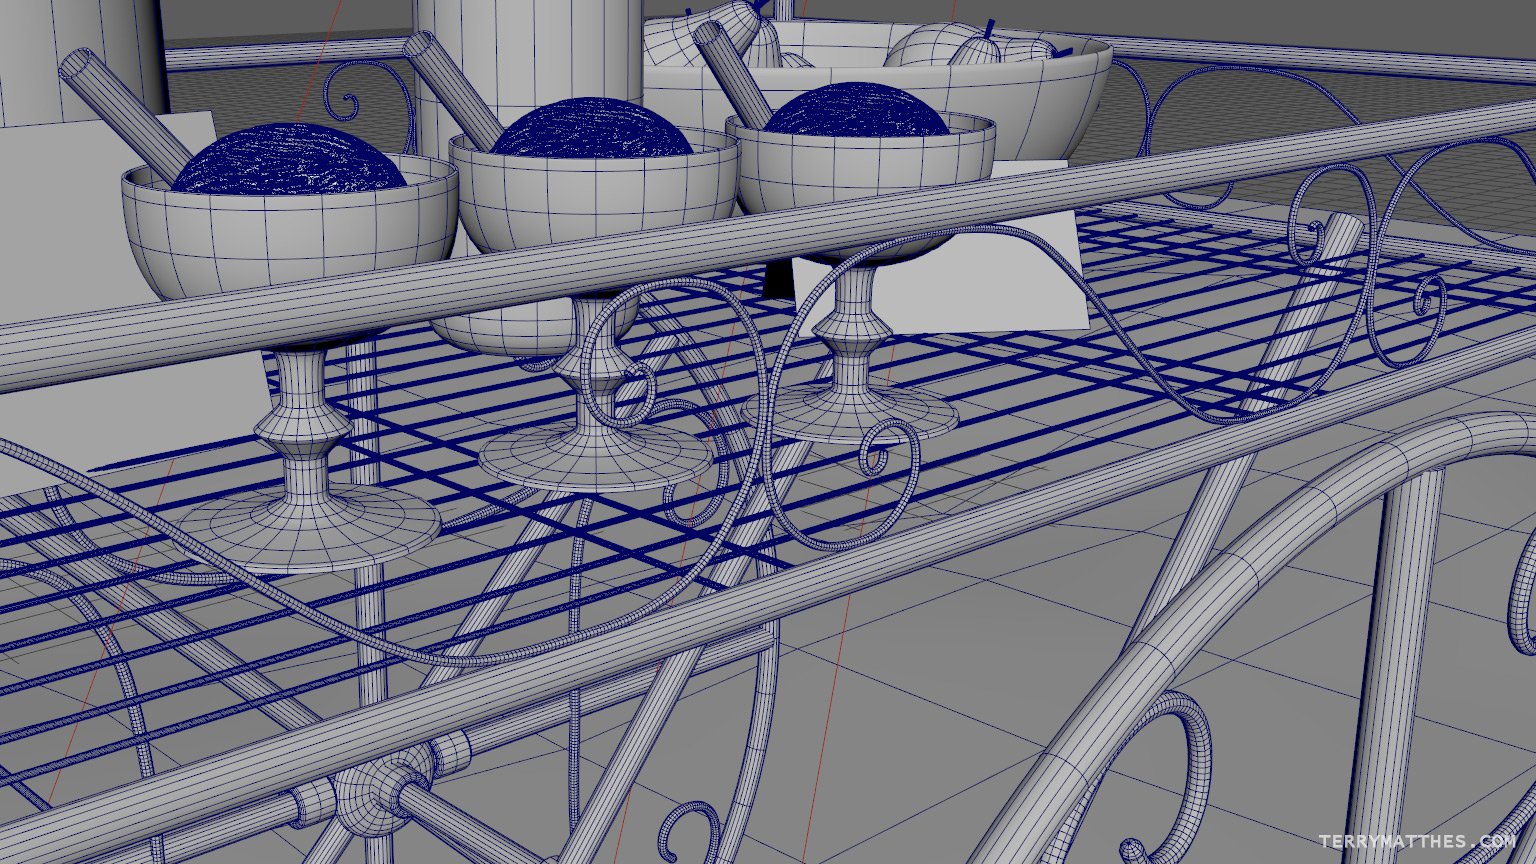
I’ve started a new piece to ring in the new year and with it comes some fun stuff to learn. I was searching for a nice scene to model when I came across a shot (bottom of post) on Pinterest courtesy of https://ruffledblog.com/. Below are shots of the first modeling pass. When putting a scene together I like to follow the order of: model, light, texture, render. I’ve roughed in several of the models so far and have one of the two types of flowers complete. Everything in the scene is pretty straight forward with the flowers and vines taking up the bulk of the time. The filigred steel around the cart was done by drawing out CV curves and then extruding a nurbs circle along their path. After the extrusion is complete I convert the nurbs tube to a polygon and then model a cap on each end.
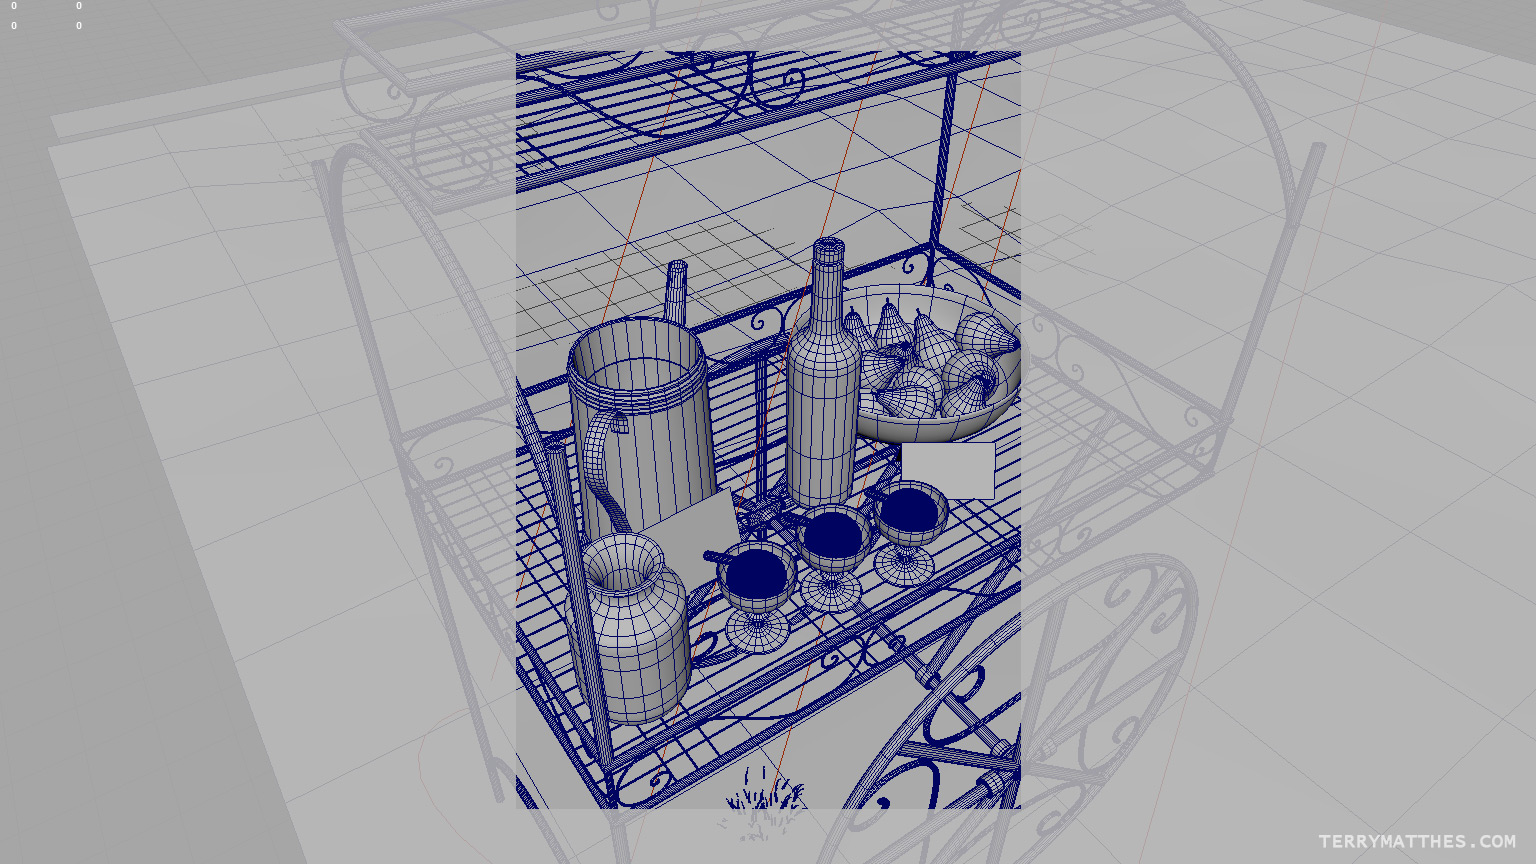
The icecream was an interesting surface to try and capture. I ended up stumbling on a technique by Andre Caputo on Youtube for Modo. There is nothing special about the tools used to achieve the final goal so I was able to copy the technique in ZBrush. I’m not entirely happy with my results on the first pass so I will do another when time permits.
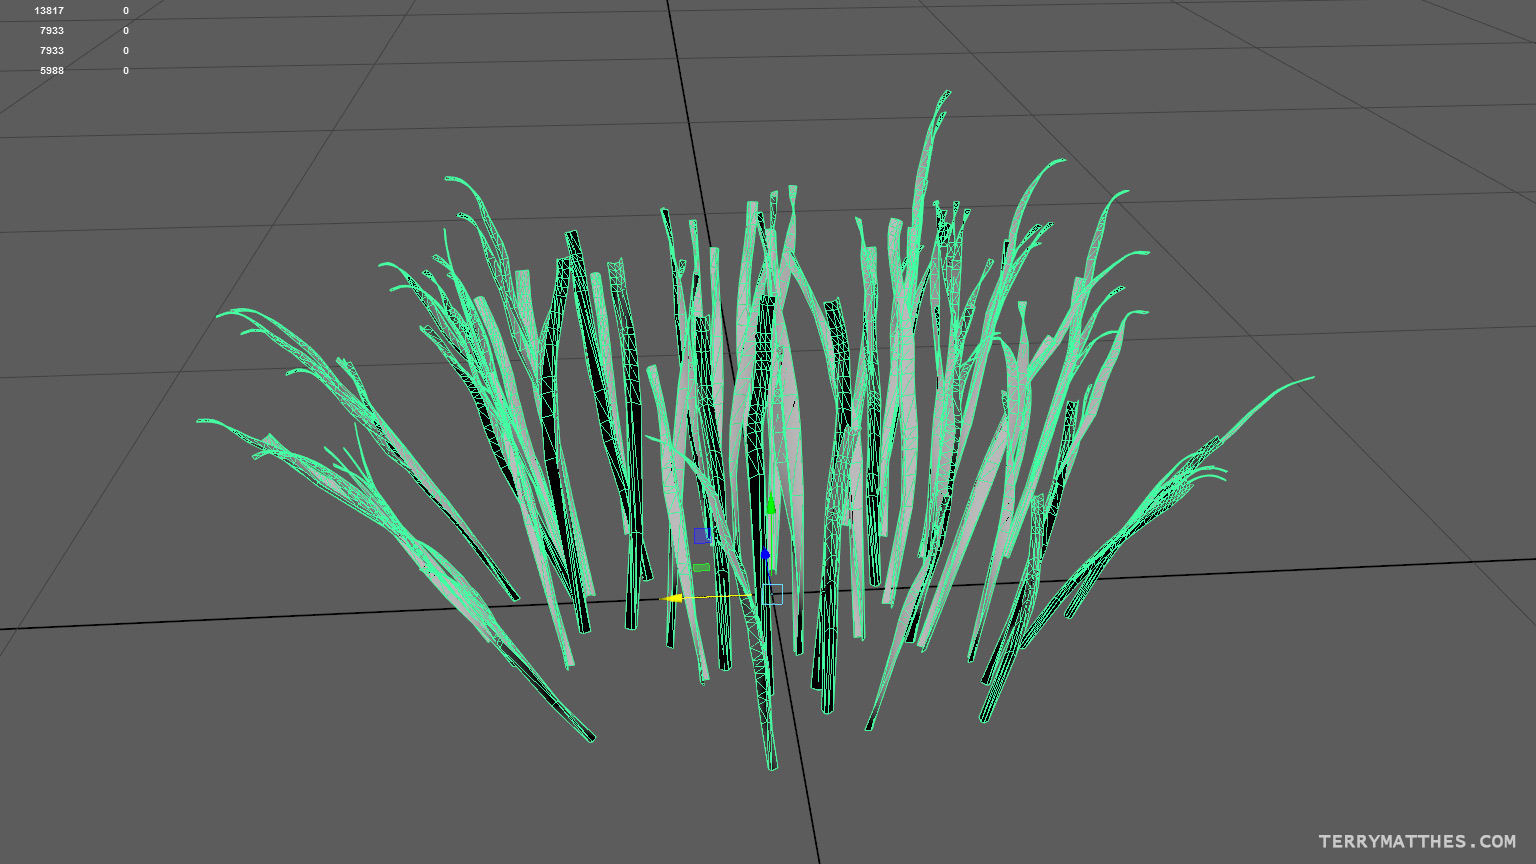
The scene I chose has grass covering the ground and I’ve honestly never scattered objects in Maya. To achieve the scattering of the grass across the shot I used Maya’s system MASH. I was really impressed by how fast and easy it was to get things up and running. I modeled a single patch of grass and then wrote some simple expressions in MASH to vary the size and positioning. I know as soon as a lot of you read “expression” you freak out and think “this is beyond me”. It’s not! A friend of mine pointed me to a simple primer and within 30 minutes I had things up and running. If you want the full rundown of MASH (of course you do) check out this tutorial. It’s long, but thorough. For my purposes the grass I created should be a little lower poly, but as a first pass it will do.
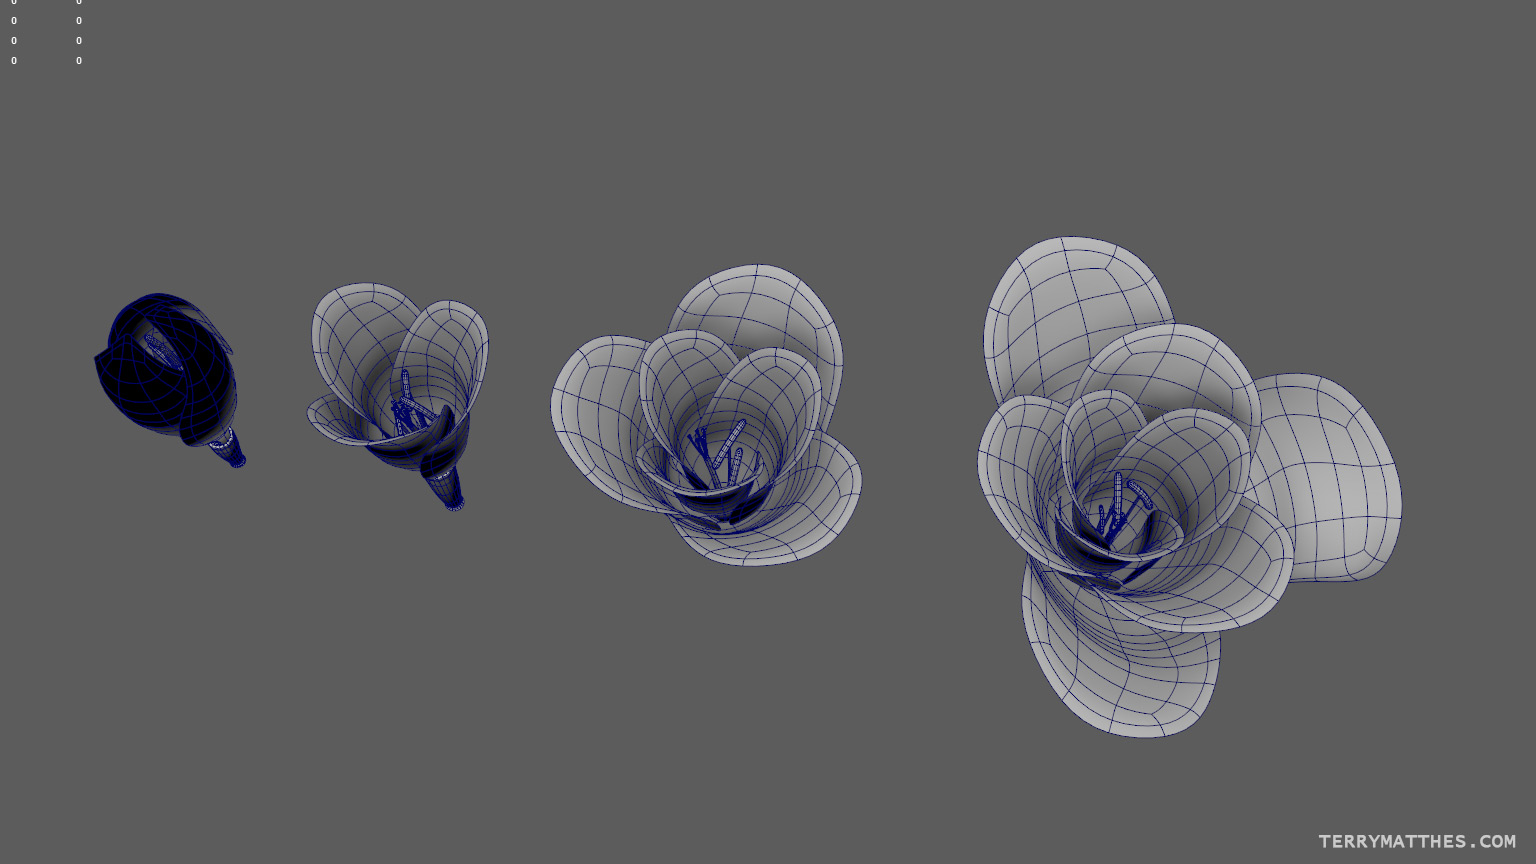
I always like modeling objects from nature as I find the process both creative and freeing. When modeling mechanical objects you can really get hung up on your reference. I find this isn’t the case with a lot of organic assets. The flowers in the scene are Freesia. There is also a yellow flower which I have yet to identify. I’ve modeled four different variations of the Freesia and that should be more than enough. My next step is to place them in the scene. As far as the stems go I’m going to wait until I have the placement of the flowers finalized then I will create the stems. This way I can have a single stem run up to several flowers. If I was to do this in reverse I would have to remodel the stems every time I changed the placement of the flower heads.
The end goal of this project is just to be a still shot, I’m not planning any animation. If I was to add any it would be a simple camera push. I’ve got a VRay sun node lighting the scene which is a nice change due to its simplicity. My last scene was indoors and had many many lights of varying temperatures and types. Below are two of the shots I found on https://ruffledblog.com/ that I’m basing the scene on. I’m about two thirds of the way done the modeling and when I finish I will make a follow up post. As always if you have any questions don’t be afraid to ask as I love to help others when I can 🙂