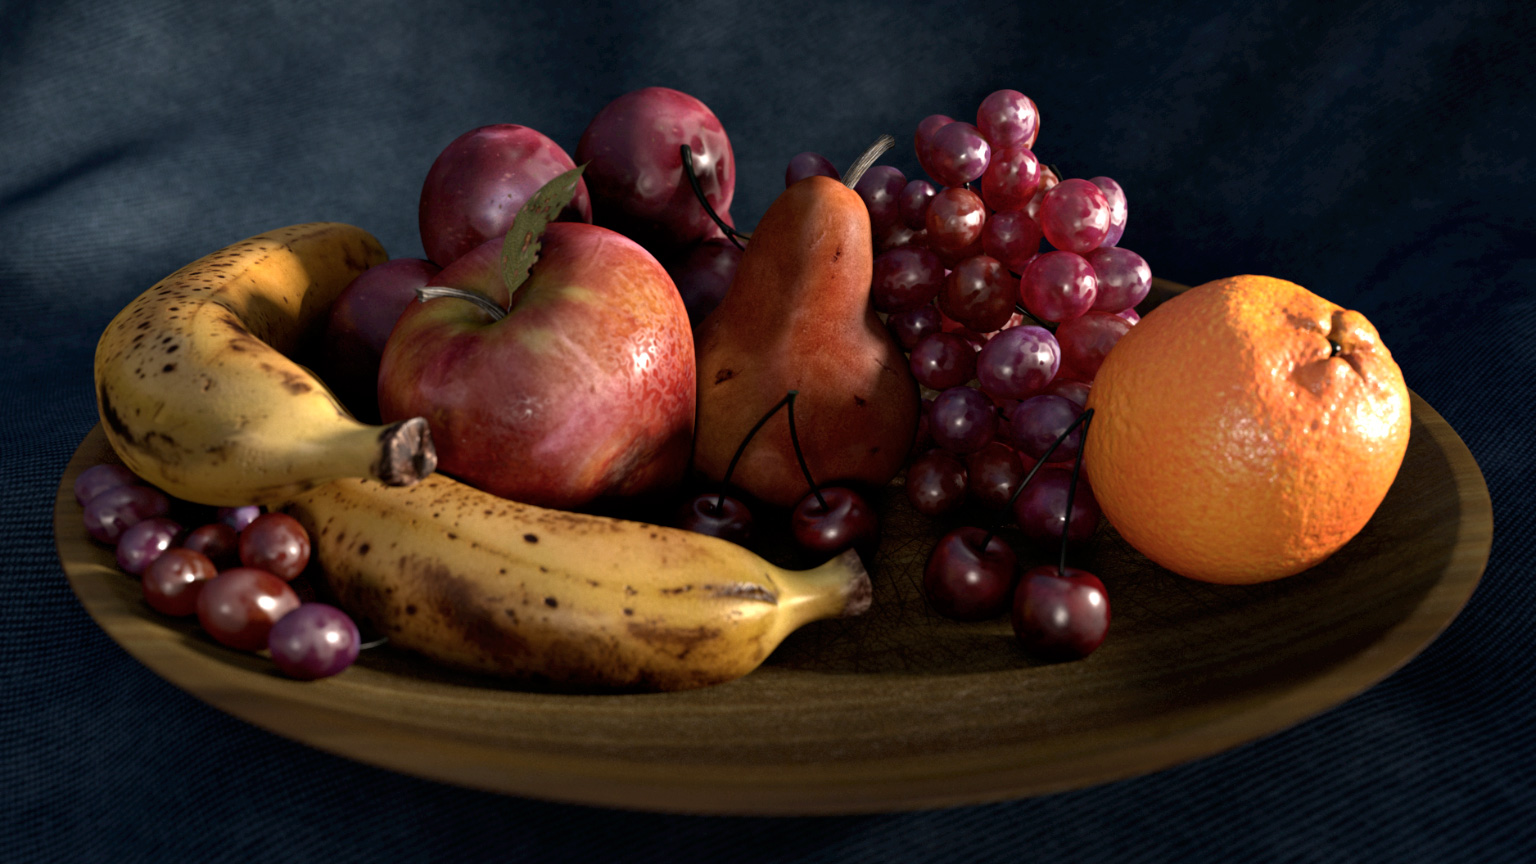
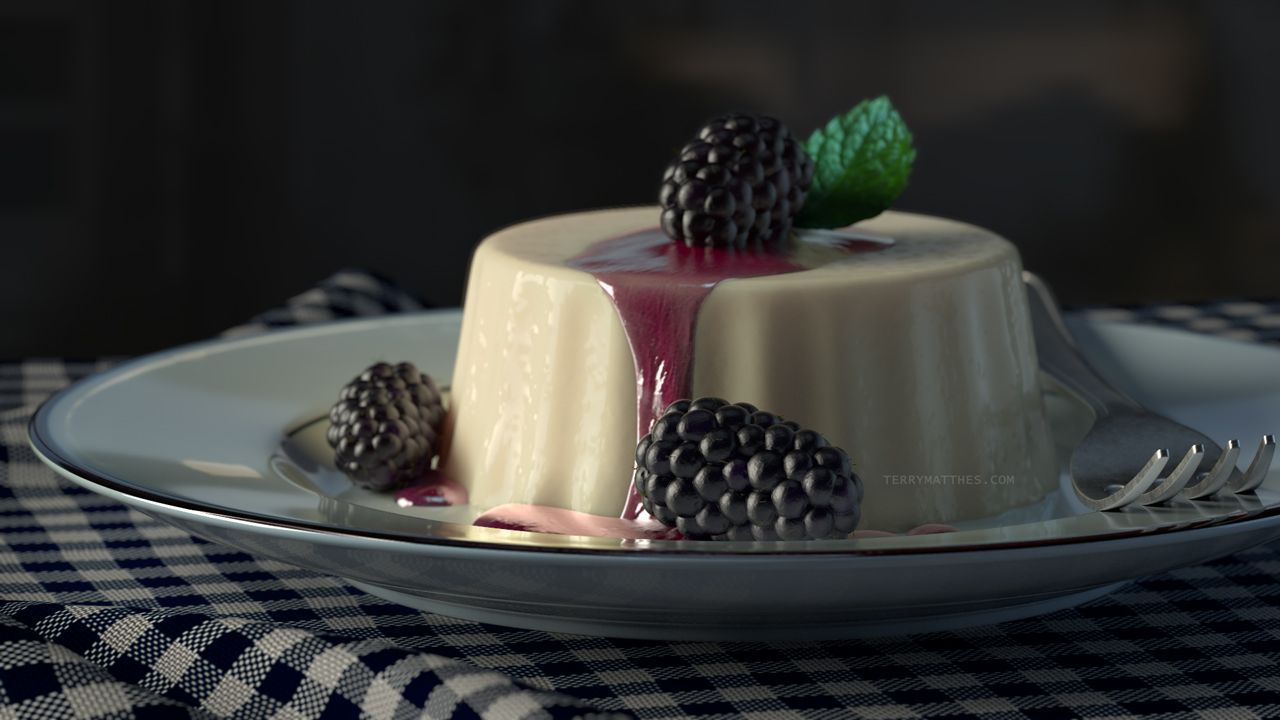
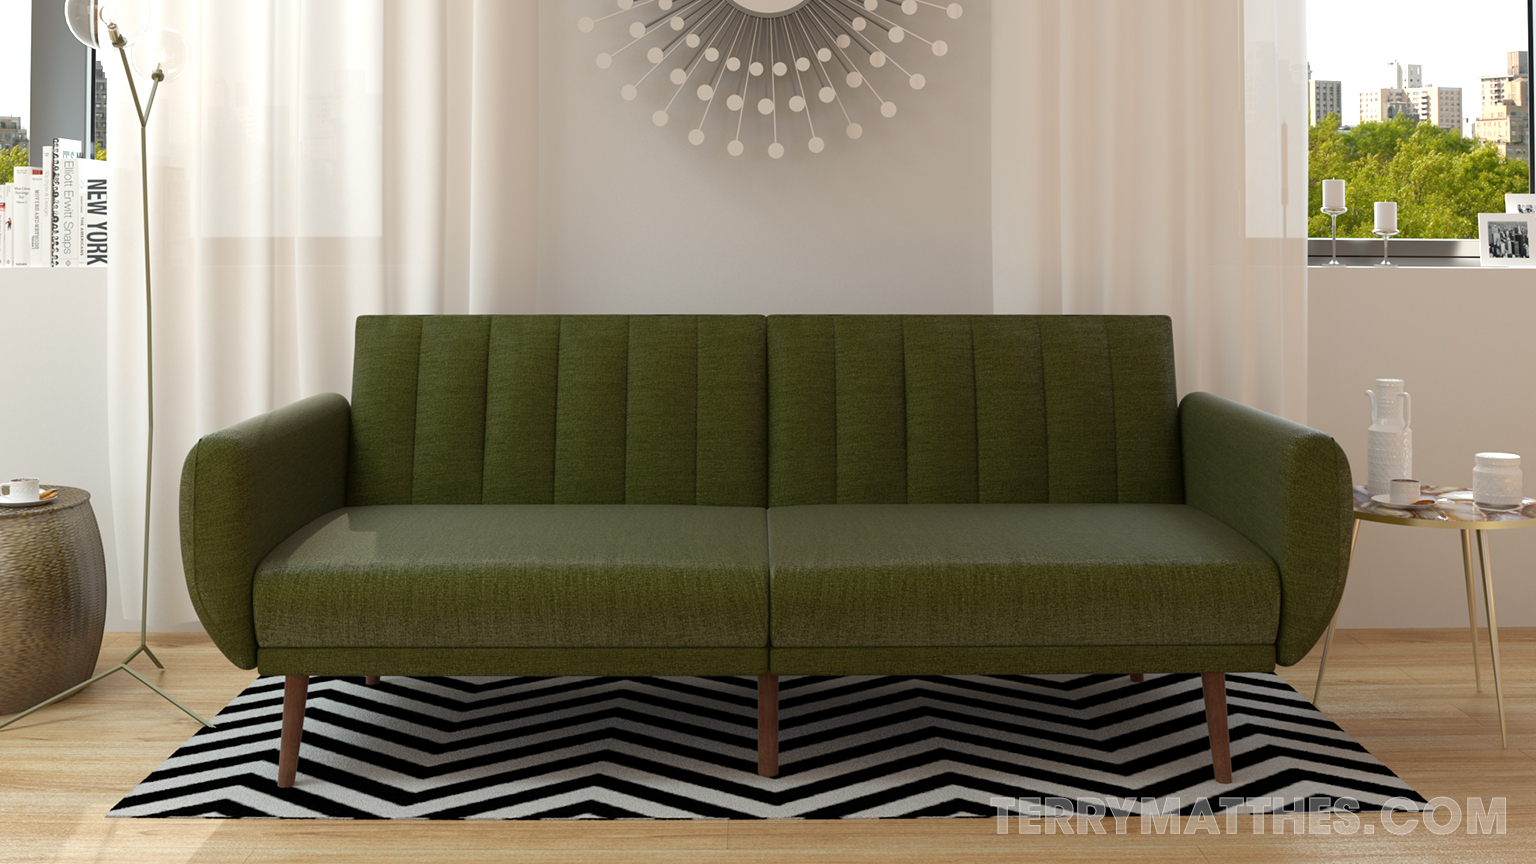
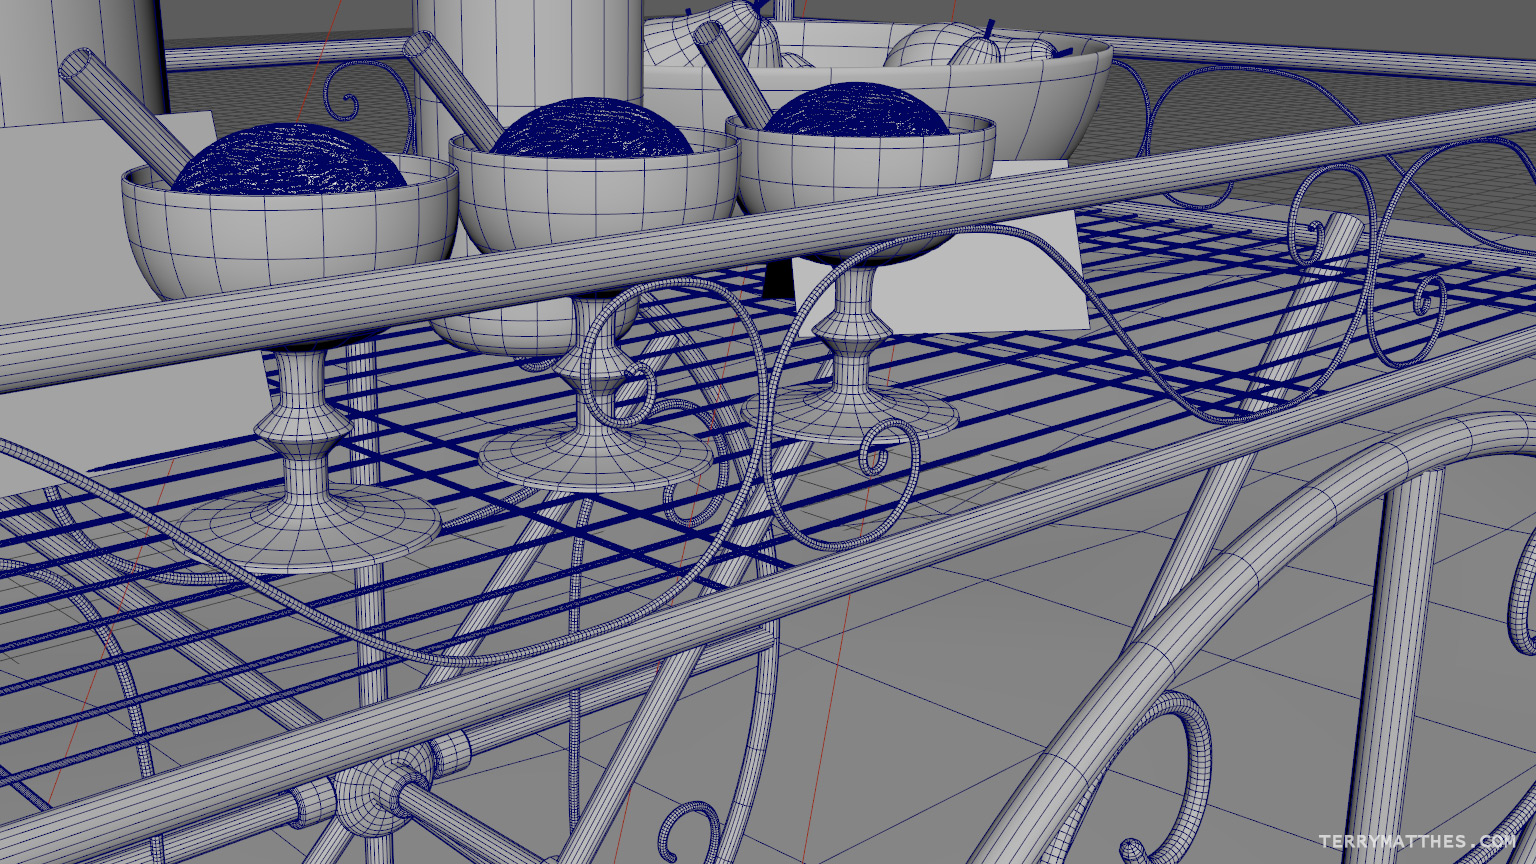
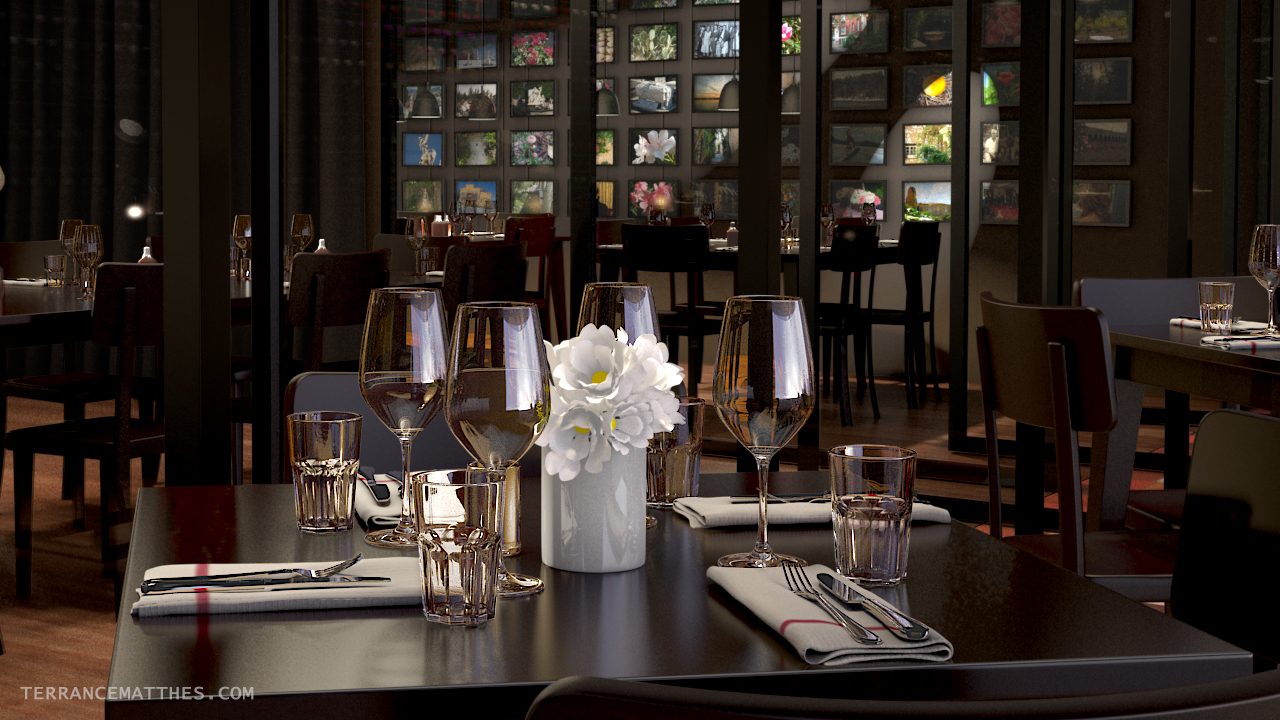
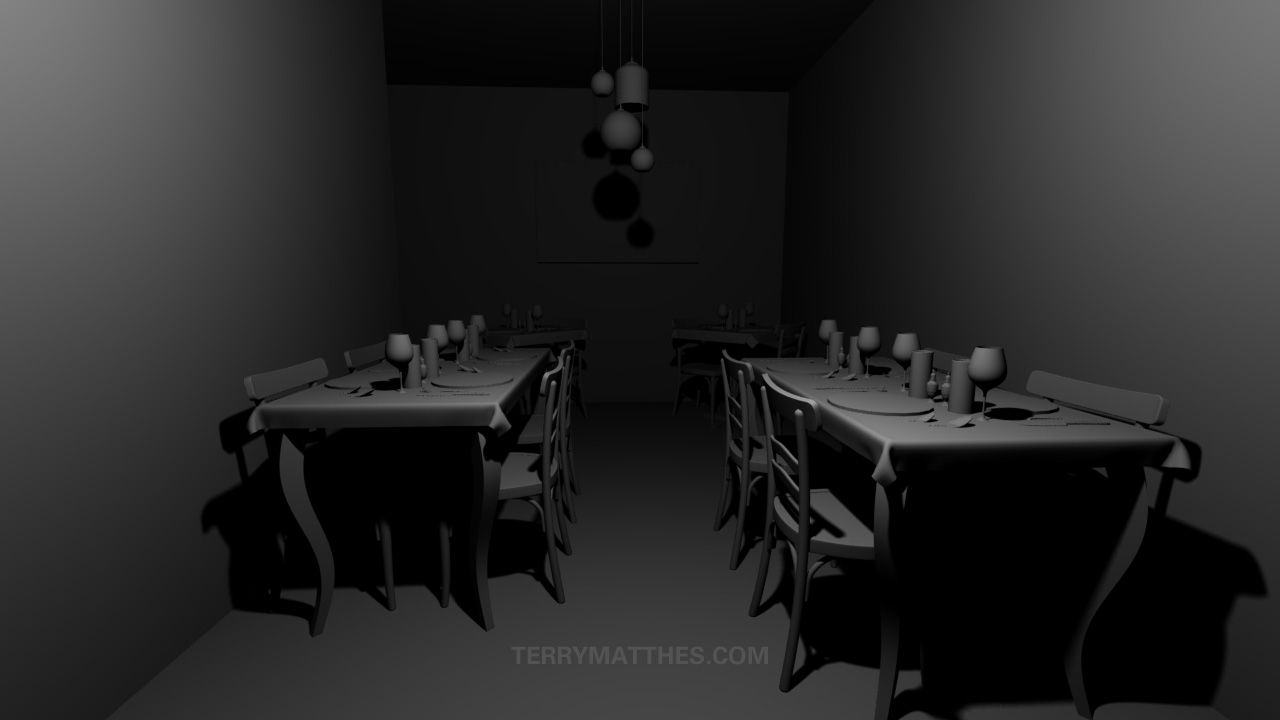
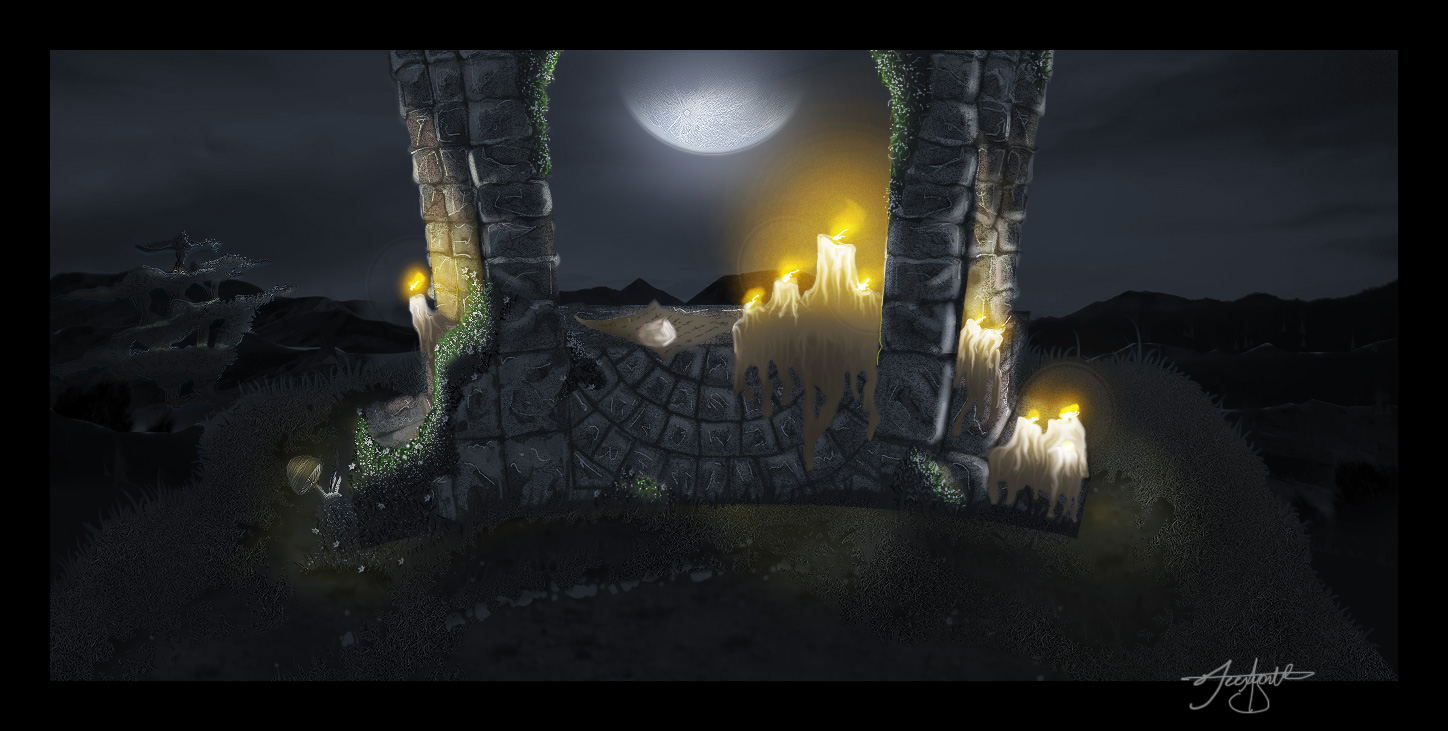
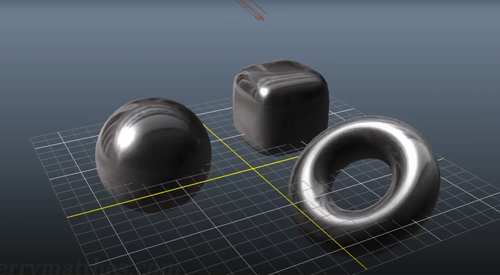
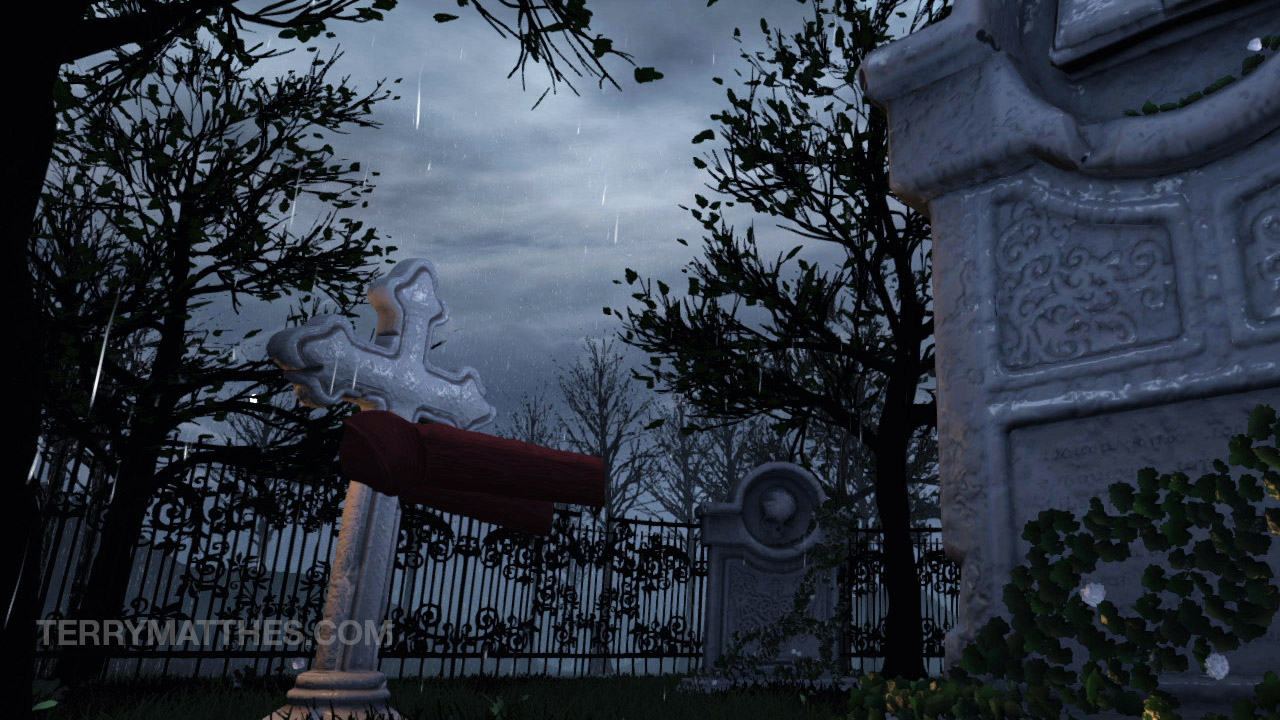
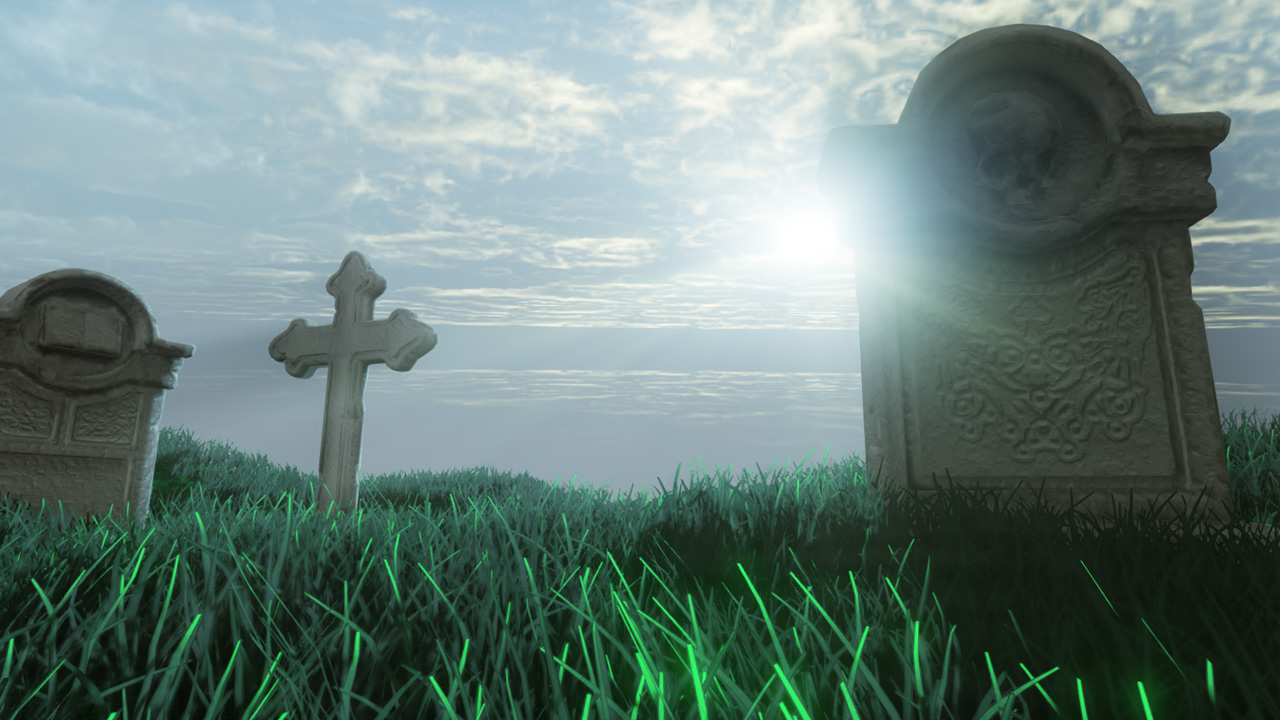
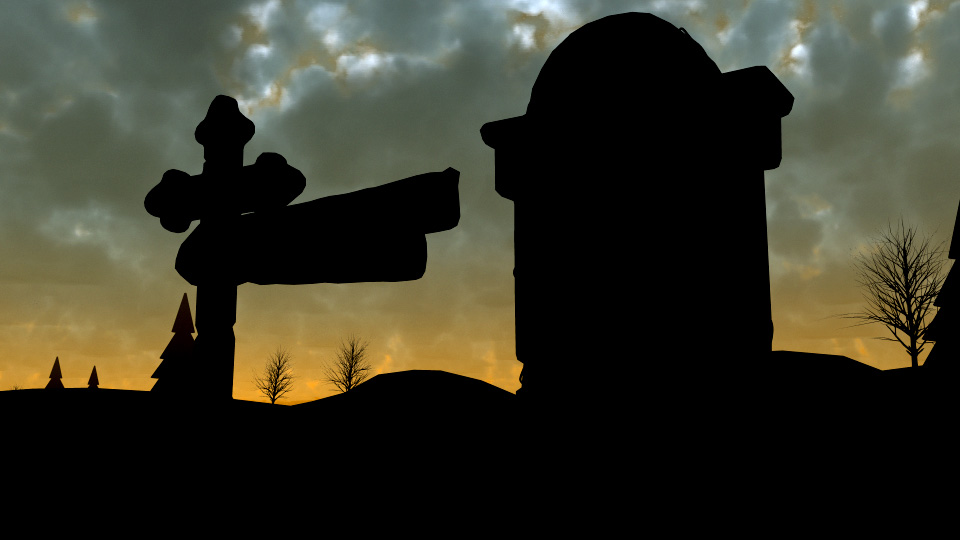
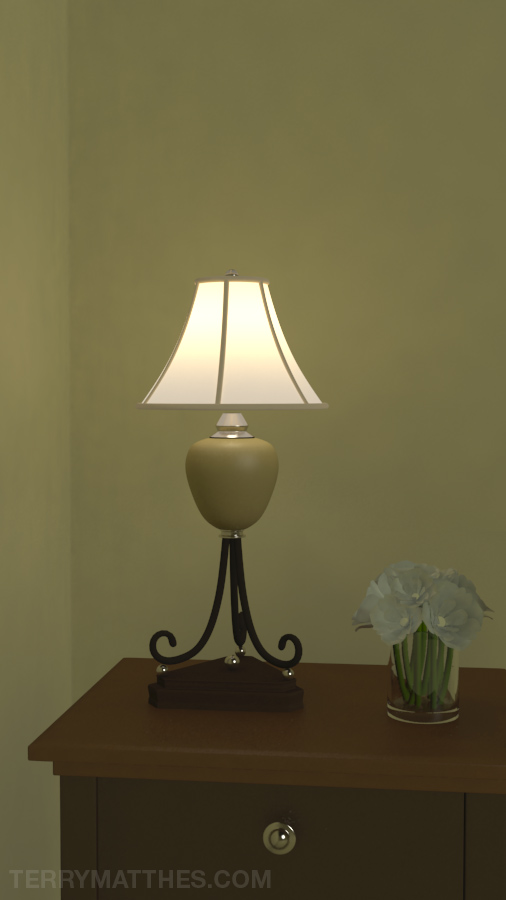
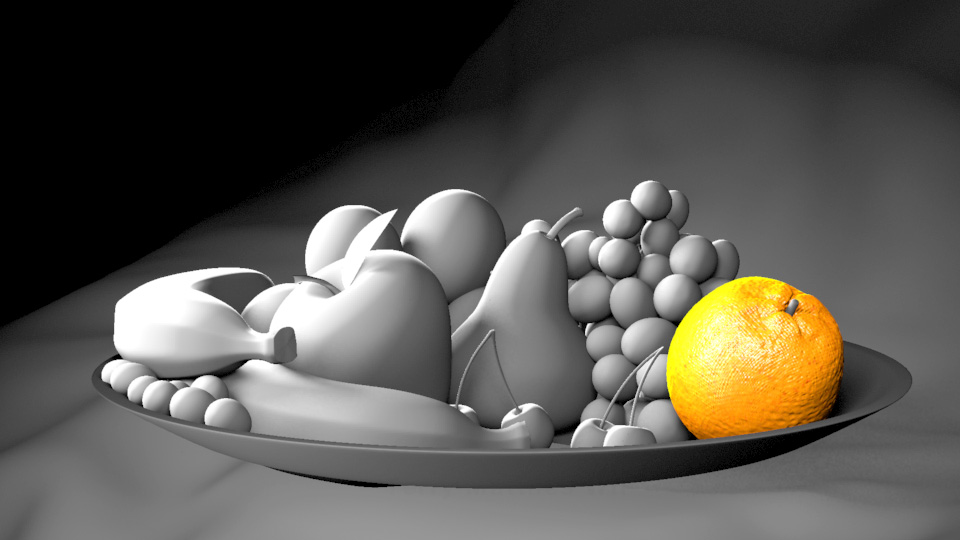
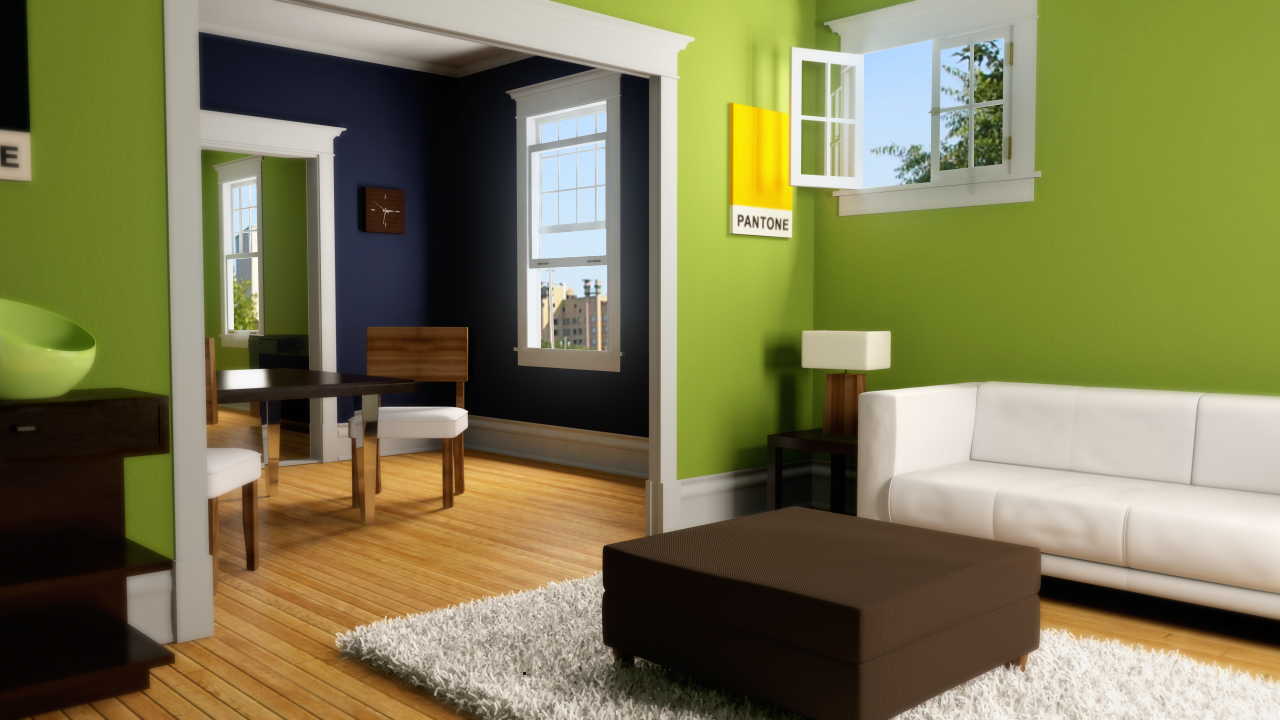
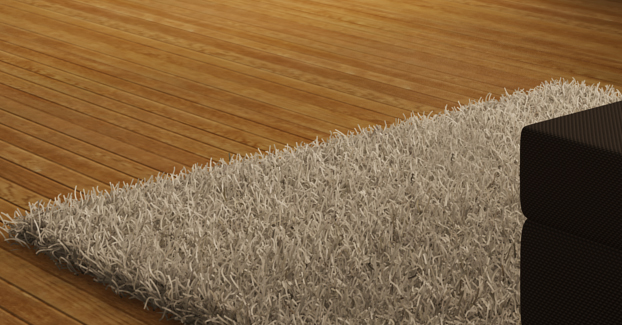
I took some time over the last few months to rework a scene I had modeled last year. I've redone all the lighting and materials in Vray as opposed to Mental Ray. A big part of this project was crushing render times down while retaining quality in...
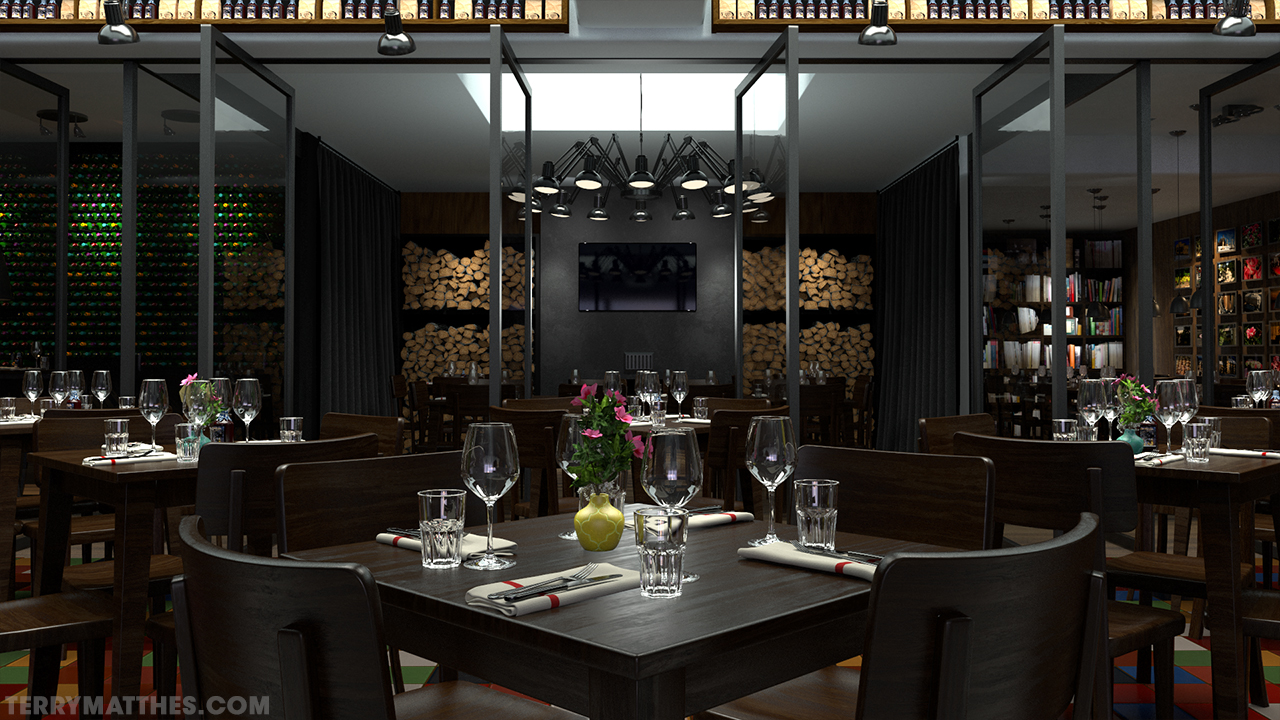
V-Ray Brasserie
read more